
10 Joyful Wood Christmas Trees DIY Ideas and Crafty Decorations

Remember that moment when you realize your attic’s fake Christmas tree looks more like a sad green toilet brush than a festive centerpiece? Yeah, me too. That’s exactly why I started obsessing over wooden Christmas trees, and honestly, I haven’t looked back since.
These DIY wooden beauties have completely changed my holiday decorating game. They’re sustainable, they don’t shed needles all over your carpet (looking at you, real trees), and they actually become conversation starters when guests come over. Plus, you get that satisfying “I made this” feeling that no store-bought decoration can match.
So grab your coffee (or hot cocoa if you’re feeling festive), and let’s explore these 10 amazing wooden Christmas tree ideas that’ll transform your holiday decor from basic to absolutely brilliant. Trust me, your Pinterest board is about to get a serious upgrade.
Minimalist Wooden Triangle Tree
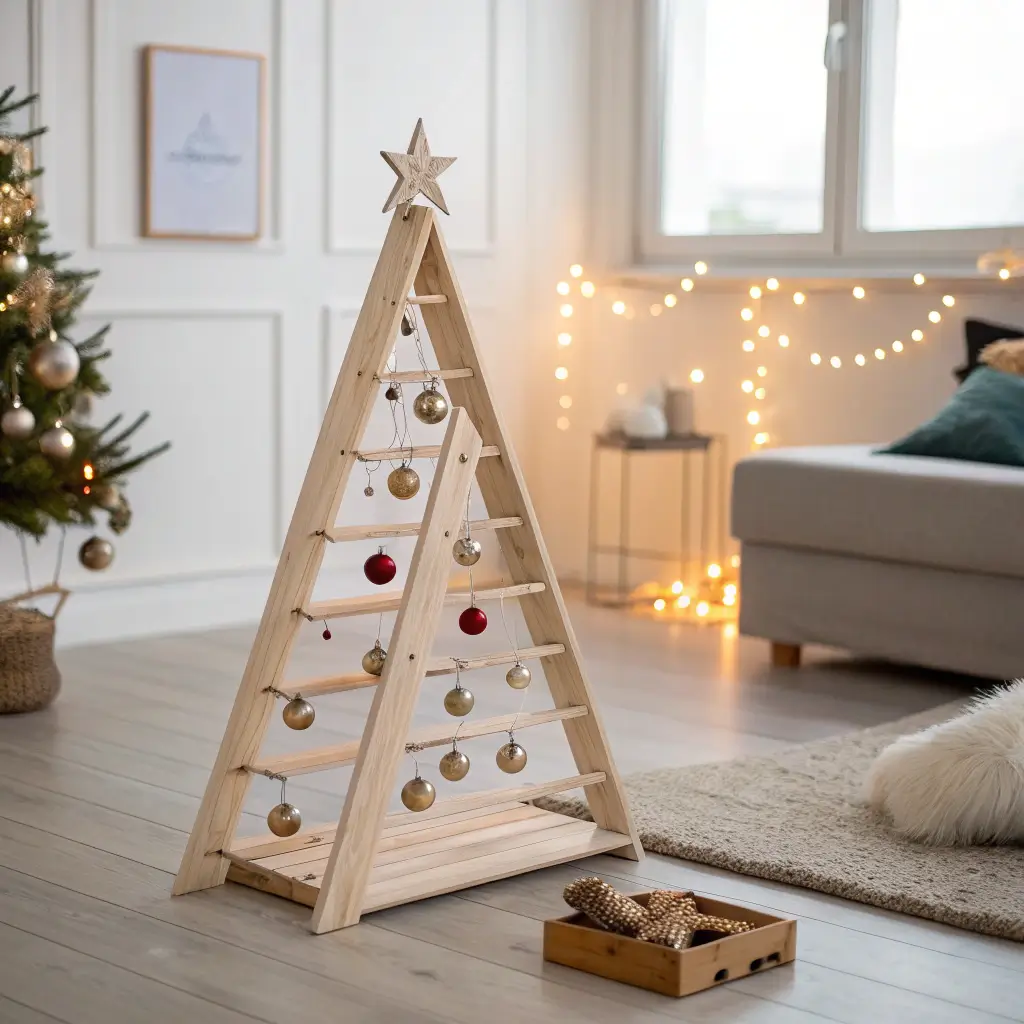
Let’s kick things off with something so simple, it’s almost genius. The minimalist wooden triangle tree proves that sometimes less really is more – and your wallet will thank you for it.
I made my first triangle tree last year using three pieces of reclaimed wood from an old fence. The beauty of this design lies in its geometric simplicity. You literally need three wooden boards, some wood glue, and maybe 30 minutes of your time. That’s it!
How to Make Your Triangle Tree Stand Out
Here’s what makes this project perfect for beginners:
- No complicated cuts required (just straight angles)
- Works with any wood type you have lying around
- Paint it, stain it, or leave it natural
- Add string lights for instant magic
The trick I discovered? Sand those edges until they’re butter-smooth. Nothing ruins the minimalist vibe faster than splinters, and trust me, I learned that the hard way when my nephew grabbed it last Christmas.
You can lean it against a wall, mount it directly, or create a simple base from a wooden block. I personally love how it looks propped casually in a corner with some fairy lights wrapped around it. Simple? Yes. Boring? Never.
Rustic Pallet Wood Christmas Tree
Who else has a weird obsession with pallet wood? Just me? Well, if you’re secretly hoarding pallets in your garage (no judgment here), this project will finally give you an excuse to use them.
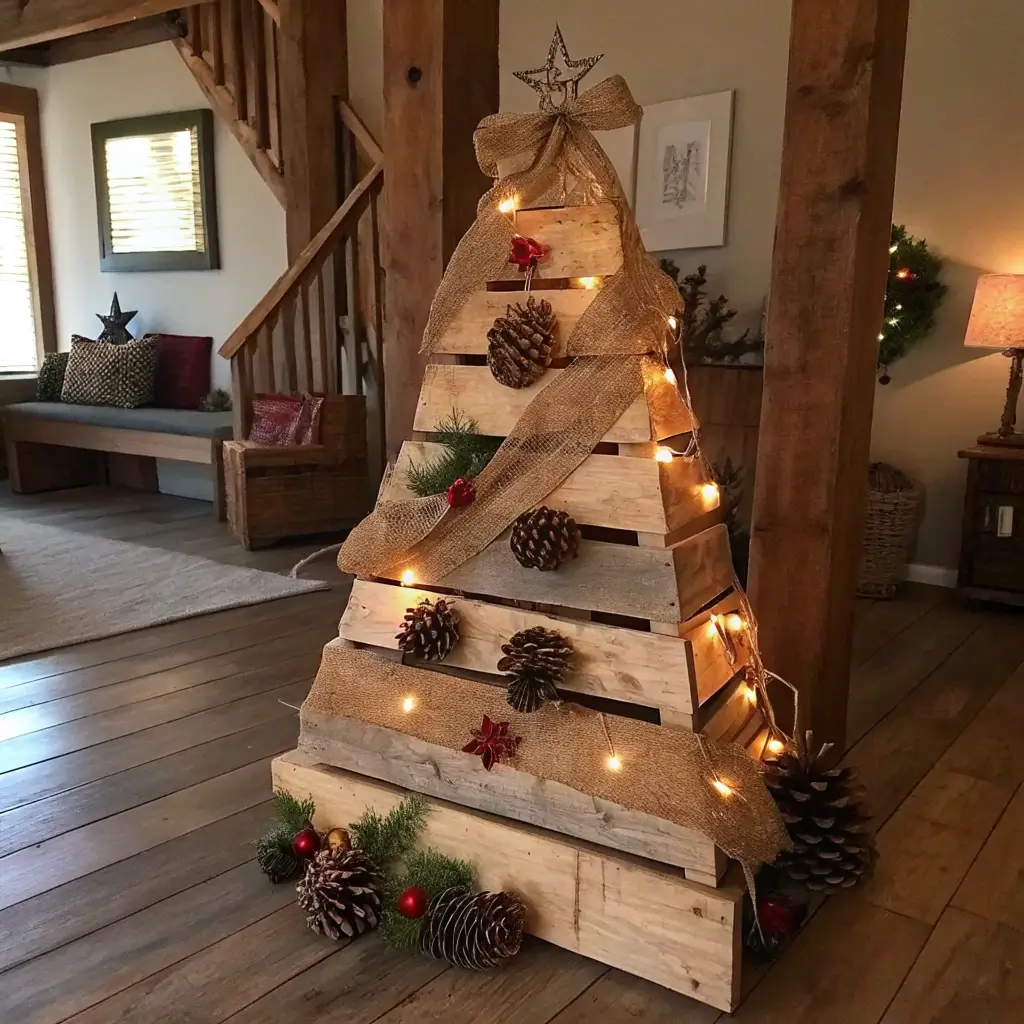
Pallet wood Christmas trees scream rustic charm like nothing else. The weathered texture, the nail holes, the imperfections – they all add character that you just can’t fake. I’ve made three different versions, and each one tells its own story.
Getting That Perfect Rustic Look
Start by dismantling your pallet carefully – a crowbar becomes your best friend here. Sort your boards by size and condition. The beat-up pieces? Those are gold for this project.
Here’s my go-to approach:
- Cut boards in graduating lengths (longest at bottom, shortest at top)
- Attach them to a central spine board
- Leave gaps between boards for a layered effect
- Sand lightly but keep that weathered texture
The magic happens when you add decorations. Burlap ribbon, pine cones, and warm white lights complement that rustic vibe perfectly. One year, I even attached old family photos with tiny clothespins – instant conversation starter!
Scandinavian Peg-Board Tree
Ever notice how Scandinavian design makes everything look effortlessly chic? Their approach to Christmas trees follows the same principle, and the peg-board tree embodies this perfectly.
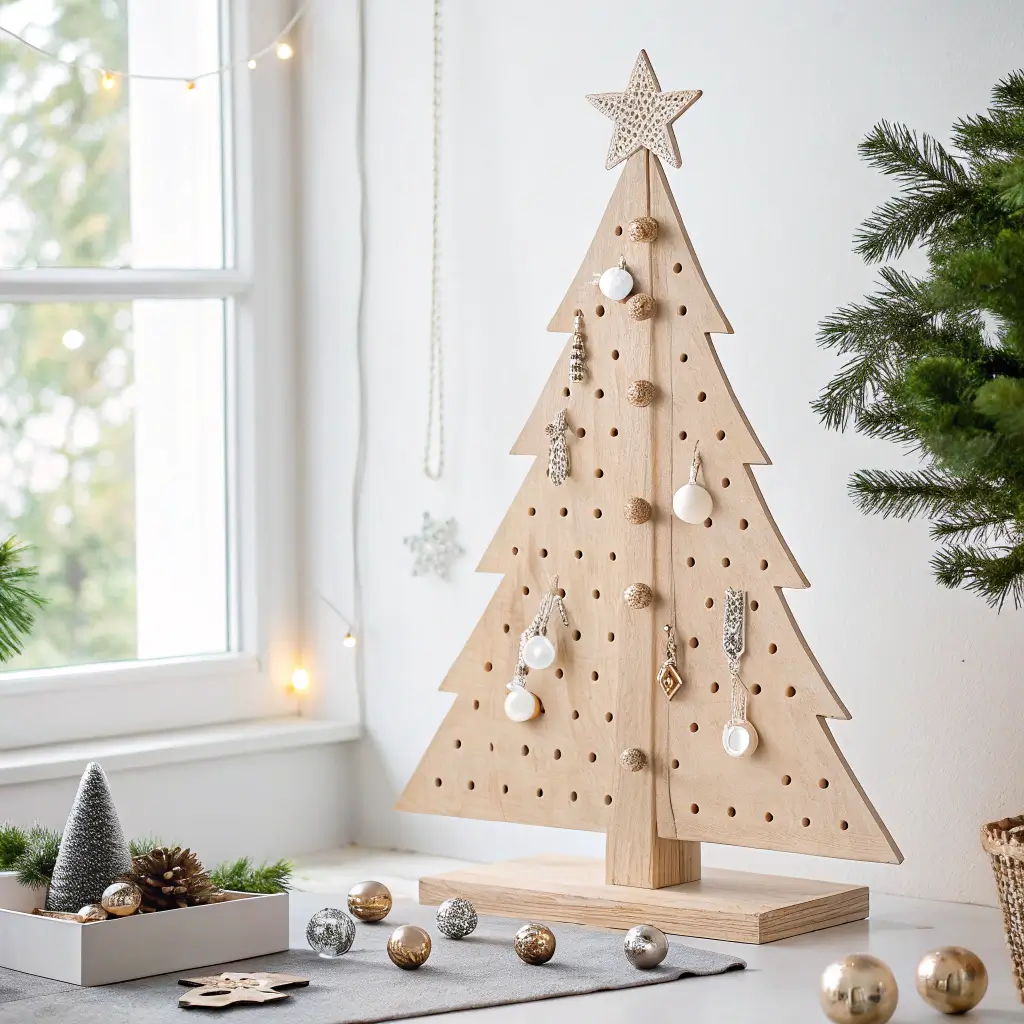
This design uses a wooden board with strategically placed pegs to create a tree shape. Think of it as a minimalist’s dream come true. The pegs hold ornaments, lights, or even small gifts, making it both decorative and functional.
Why This Design Works So Well
I stumbled upon this idea while browsing Danish design blogs (yes, that’s how I spend my evenings). The genius lies in its versatility:
- Change decorations instantly without damage
- Doubles as a display board year-round
- Takes up zero floor space
- Kids can safely redecorate it daily
Cut your board into a triangle or keep it rectangular – both work beautifully. Drill holes in a tree pattern, insert dowel pegs, and boom – you’re done. Paint it white for that true Nordic feel, or go natural wood for warmth.
Driftwood Layered Tree

Beach lovers, this one’s for you! Remember all that driftwood you collected during summer walks? Time to put it to spectacular use.
Creating a driftwood tree feels like bringing the ocean into your holiday decor. Each piece has been naturally shaped by water and time, giving you a one-of-a-kind creation that nobody else will have.
Assembling Your Coastal Masterpiece
Start with your longest piece at the bottom. Here’s where it gets fun – no two trees will ever look the same because no two pieces of driftwood are identical. That’s the beauty of it!
My method:
- Drill a hole through the center of each piece
- Thread them onto a dowel or metal rod
- Space them with wooden beads or washers
- Secure with a star on top (or a starfish for coastal vibes!)
FYI, the smell of driftwood when you drill it? Not great. Open those windows! But the end result makes it totally worth the temporary stink. Add some blue-tinted lights and silver ornaments, and you’ve got yourself a stunning coastal Christmas centerpiece.
Also Read: 15 Stunning Modern Christmas Decor Ideas and Chic Holiday Vibes
Wooden Ladder Christmas Tree

Got an old ladder gathering dust? Congratulations, you’ve got yourself a Christmas tree! This might be the easiest transformation on this entire list, and people always assume it’s way more complicated than it actually is.
I discovered this idea when my actual Christmas tree stand broke two days before Christmas (perfect timing, right?). Desperation breeds creativity, and my paint-splattered ladder became the star of the show.
Making Your Ladder Festive
The A-frame ladder works best, but even a straight ladder leaning against a wall creates magic. Here’s how to make it special:
- Wrap lights around each rung in a zig-zag pattern
- Hang ornaments from the rungs using ribbon
- Place wrapped gifts on the steps
- Add greenery for a traditional touch
The wider the ladder opens, the more tree-like it appears. My favorite trick? String lights vertically from the top point down to each corner for that classic triangle tree shape. Instant tree, zero pine needles to vacuum. Win-win!
Reclaimed Log Slice Tree
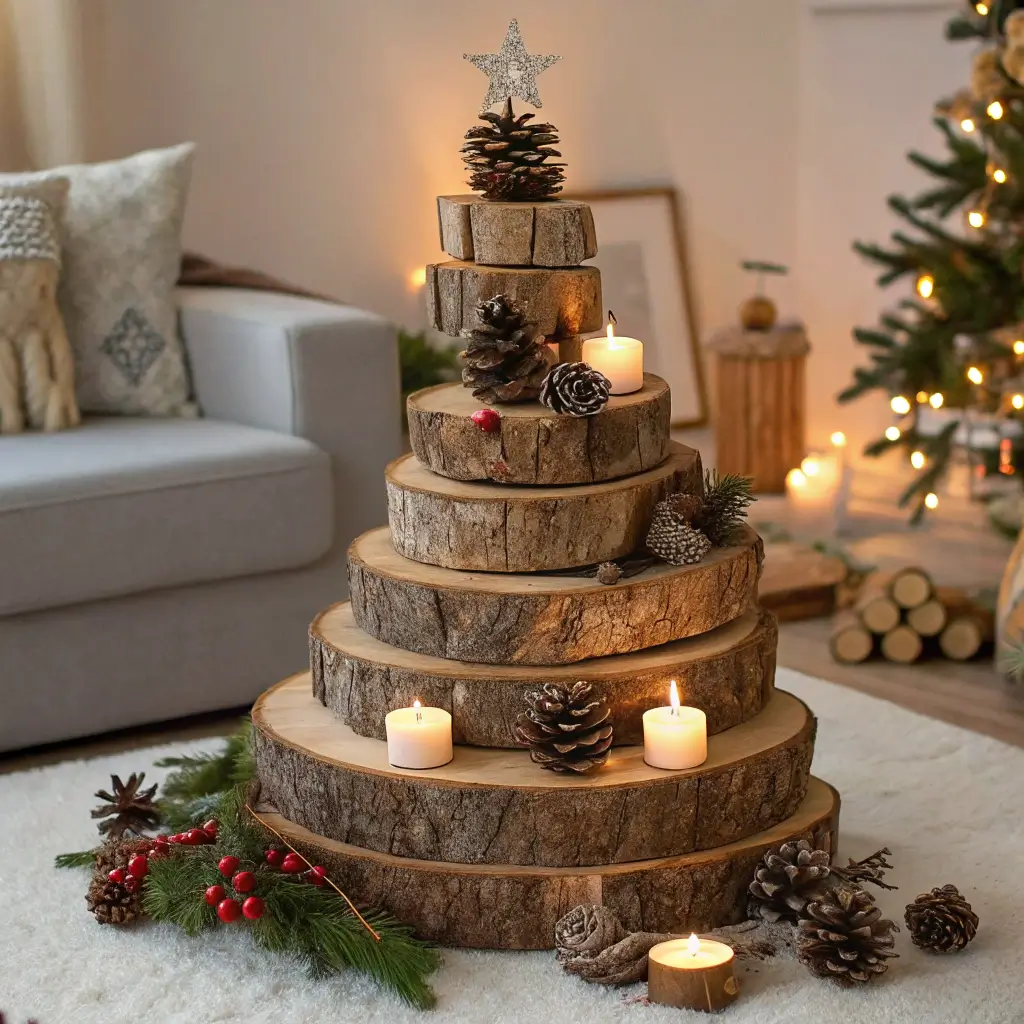
This one makes me ridiculously happy because it combines two of my favorite things: recycling and showing off. The log slice tree turns what most people consider firewood into a stunning decorative piece.
After a storm knocked down our old oak tree, I couldn’t bear to just burn it all. So I borrowed my neighbor’s chainsaw (after watching approximately 47 YouTube tutorials on chainsaw safety) and created something magical.
Creating Your Log Slice Masterpiece
You’ll need log slices in various sizes – think 10-12 pieces ranging from 12 inches down to 3 inches in diameter. The thickness should be consistent, about 1-2 inches each.
Here’s the process:
- Sand each slice smooth (both sides)
- Arrange from largest to smallest
- Drill holes and connect with a central dowel
- Or stack them pyramid-style with spacers
Want to get fancy? Wood burn patterns or paint designs on each slice before assembly. I added our family’s initials to mine, and now it’s become a tradition to add a new design each year. It’s like a growing wooden scrapbook!
Wall-Mounted Wooden Slat Tree

Short on floor space? Can’t stand the thought of rearranging furniture for a tree? The wall-mounted slat tree solves all these problems while looking absolutely gorgeous.
This design uses horizontal wooden slats of varying lengths mounted directly to your wall in a tree shape. It’s like a tree and wall art had a beautiful baby, and honestly, I leave mine up way past New Year’s because it looks that good.
Installation Tips That Actually Work
Mark your wall with pencil first – trust me on this one. I learned the hard way that eyeballing it leads to a very wonky tree. Use a level for each slat unless you’re going for that “abstract art” look (which, let’s be honest, is just code for “I messed up”).
Key points for success:
- Start with the longest slat at the bottom
- Leave 4-6 inches between each slat
- Use command strips for renters (they really work!)
- Pre-drill holes to prevent splitting
The best part? You can hang ornaments, lights, and even stockings from the slats. Add battery-powered fairy lights, and you’ve got yourself a tree that photographs beautifully for those Instagram moments.
Also Read: 15 Cozy Earth Tone Christmas Tree Ideas and Warm Holiday Decor
Geometric Wooden Frame Tree
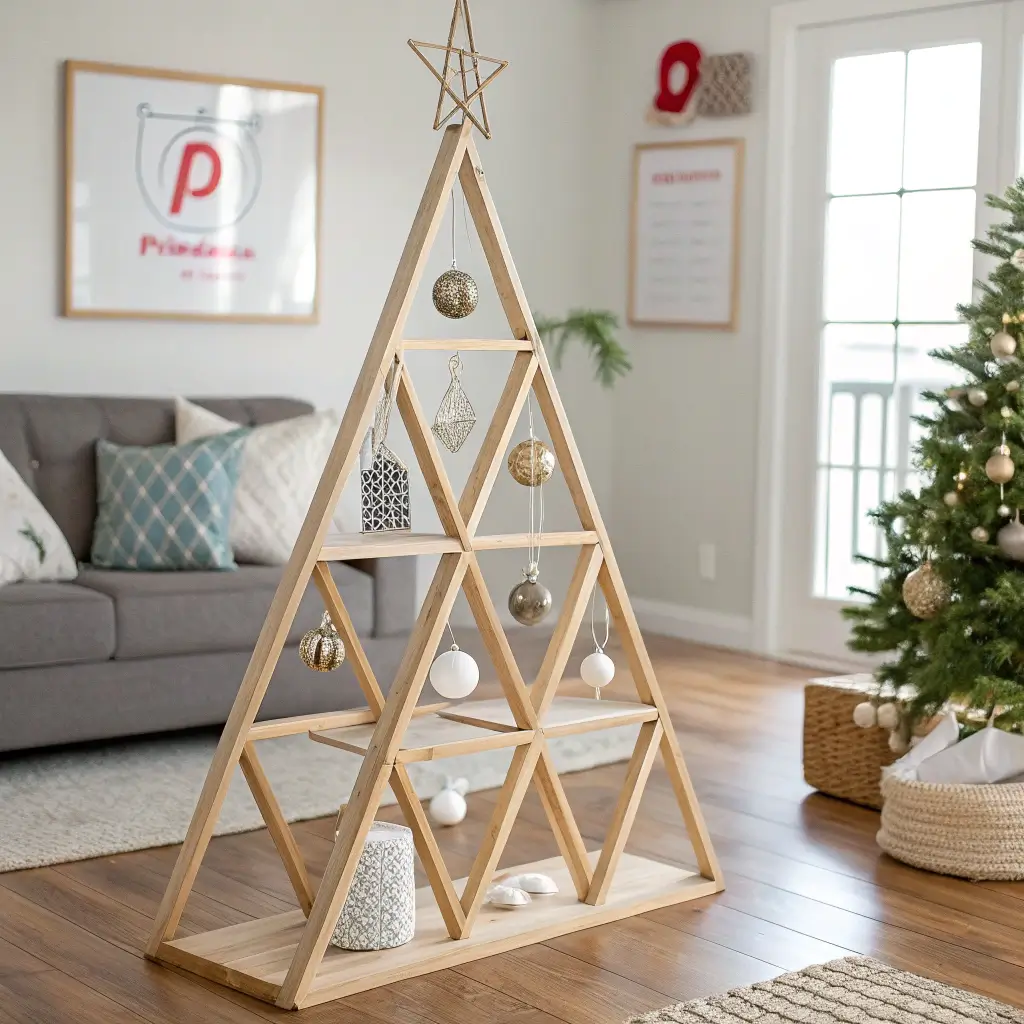
Modern design lovers, prepare to swoon. The geometric frame tree brings contemporary style to traditional holiday decor, and it’s surprisingly easy to create.
Picture this: triangular wooden frames in graduating sizes, stacked or hung to create a 3D tree effect. I made mine after being inspired by a ridiculously expensive version at a boutique store (we’re talking $200 for some sticks, people). Mine cost $30 and looks just as good, IMO.
Building Your Modern Marvel
You’ll need thin wooden strips or dowels, a miter saw (or a very patient friend who owns one), and wood glue. That’s basically it.
Construction steps:
- Cut three equal pieces for each triangle
- Miter the ends at 30-degree angles
- Glue together (use tape to hold while drying)
- Create 5-7 triangles in different sizes
Stack them with small wooden blocks as spacers, or hang them individually from fishing line for a floating effect. Paint them matte black for ultra-modern vibes, or go with metallic gold for glamour. Either way, prepare for compliments.
Wooden Branch Spiral Tree

This design makes me feel like a woodland fairy who happens to have power tools. The spiral tree uses branches arranged in a mesmerizing spiral pattern that looks way more complicated than it actually is.
I collected branches during my dog walks all fall (yes, I’m that person), and by December, I had enough for three trees. The key is finding branches with interesting shapes and textures – perfectly straight ones are actually boring for this project.
Creating the Spiral Magic
Start with a central pole (a dowel, metal rod, or even a sturdy branch). The branches attach at angles, creating a spiral effect as you work your way up.
Here’s my technique:
- Drill angled holes in your central pole
- Insert branches longest to shortest
- Rotate each branch slightly from the last
- Secure with wood glue for stability
The natural irregularities in the branches create visual interest. Add small ornaments, dried flowers, or leave it bare for minimalist appeal. Mine sits in a vintage metal bucket filled with rocks for stability, and honestly, it might be my favorite creation yet.
Also Read: 15 Aesthetic Rustic Christmas Decor Ideas for Holiday Magic
Foldable Wooden A-Frame Tree
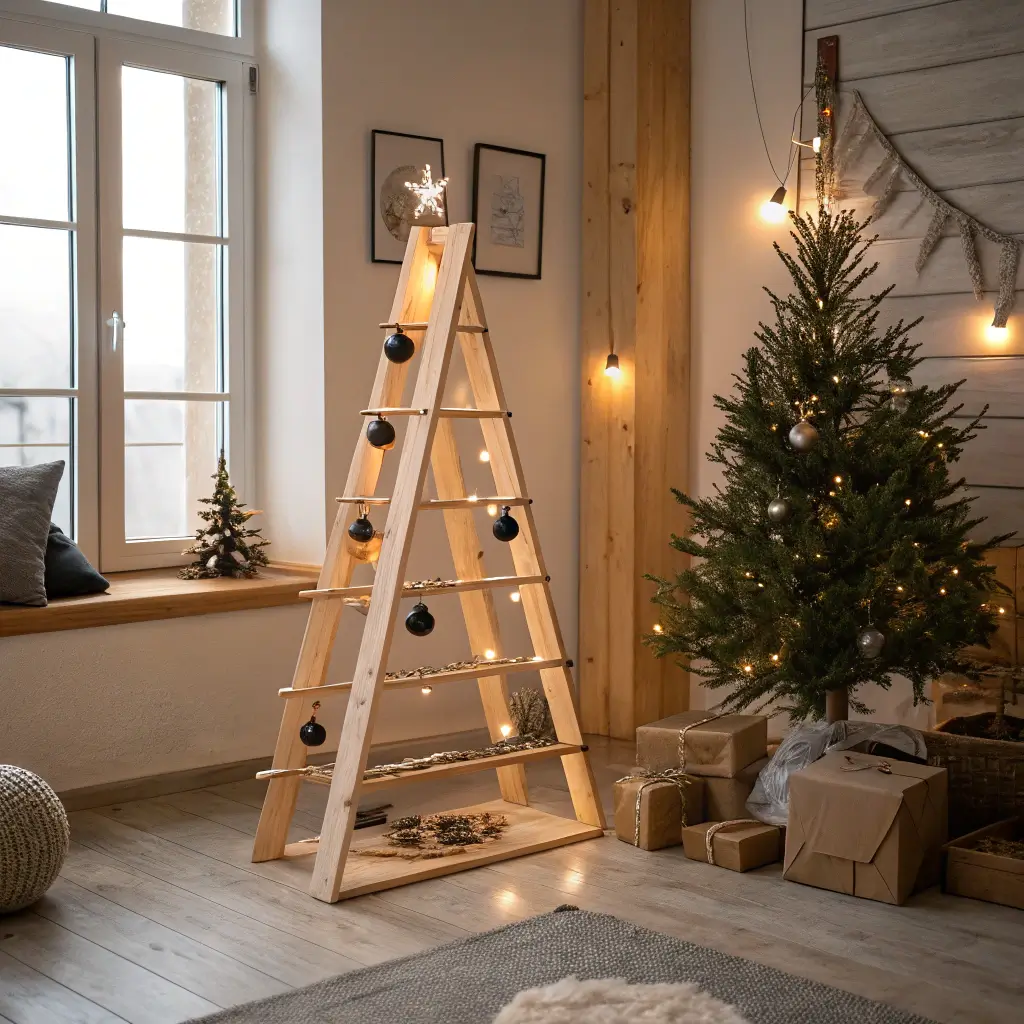
Apartment dwellers, rejoice! This tree folds flat for storage, meaning you can actually have a decent-sized tree without sacrificing your entire closet to January storage.
I designed mine after moving into a studio apartment where storage space was basically mythical. The A-frame design means it stands on its own, and the folding mechanism is just two hinges – seriously, that’s it.
Making It Fold Without Failing
Use two identical wooden panels (plywood works great) cut into tree shapes. Connect them at the top with hinges, and you’re essentially done. But here’s where you can get creative:
- Paint each side differently for two looks in one
- Cut out shapes for a shadow-box effect
- Add shelves between the panels for mini displays
- Install LED strips along the edges
When the holidays end, it folds down to about 3 inches thick. I store mine behind my bedroom door, and nobody even knows it’s there. Next year? Just unfold and decorate. It’s almost too easy 🙂
Making Your Wooden Christmas Tree Absolutely Perfect
After creating all these trees (yes, I’ve actually made every single one), I’ve learned some universal truths about wooden Christmas tree crafting. First, imperfection adds character. That slightly crooked branch or uneven paint job? That’s not a mistake; that’s personality.
Second, lighting changes everything. Even the simplest wooden tree becomes magical with the right lights. Battery-powered LED strings have revolutionized my decorating game – no more extension cord gymnastics!
Finally, make it yours. These ideas are starting points, not strict rules. Mix techniques, add your own spin, incorporate family traditions. The best DIY project is one that reflects your style and brings you joy every time you look at it.
So which wooden tree are you tackling first? Whatever you choose, remember that the process matters as much as the result. There’s something deeply satisfying about creating holiday decorations with your own hands. Plus, while everyone else is untangling last year’s crushed artificial tree, you’ll be setting up something unique, sustainable, and absolutely gorgeous.
Happy crafting, and may your holidays be filled with sawdust and joy! (Just maybe vacuum up the sawdust before guests arrive.)