

15 Beautiful Bathroom Wallpaper Ideas and Design Tips

Look, I get it. Your bathroom is looking a little sad, and you’ve been scrolling through Pinterest for hours, dreaming about those gorgeous wallpapered bathrooms that look like they belong in a magazine. But here’s the thing—you don’t need to hire an expensive interior designer or take out a small loan to transform your bathroom into a stunning space.
I’ve spent years experimenting with bathroom wallpaper projects, making mistakes (so many mistakes), and finally figuring out what actually works. And now? I’m sharing everything with you. These 15 bathroom wallpaper and design tips will help you create the bathroom of your dreams without losing your mind—or your entire paycheck.
Ready to make your bathroom the most Instagrammable room in your house? Let’s get into it.
1. DIY Peel-and-Stick Bathroom Wallpaper Ideas
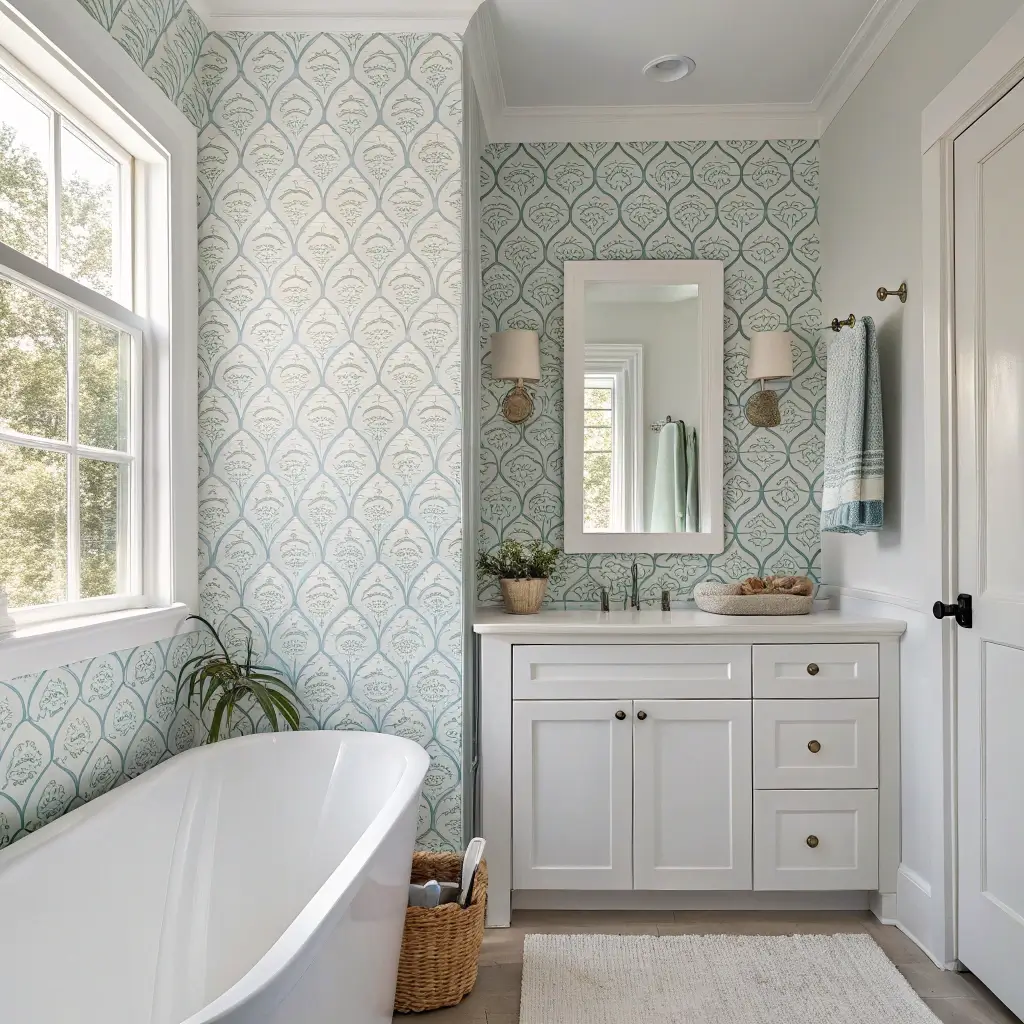
Peel-and-stick wallpaper changed my life. I know that sounds dramatic, but honestly, it’s the truth. If you’re someone who gets bored easily (guilty as charged) or you’re renting and can’t commit to permanent changes, this stuff is your new best friend.
Why Peel-and-Stick Works Perfectly for Bathrooms
The beauty of peel-and-stick wallpaper lies in its removability and ease of application. You don’t need any special tools, paste, or a professional to help you out. Just measure, cut, peel, stick, and smooth. That’s literally it.
Here are some killer ideas for using peel-and-stick wallpaper in your bathroom:
- Behind the mirror accent – Create a focal point by applying wallpaper just behind your vanity mirror
- Cabinet door makeover – Transform boring cabinet fronts with a bold pattern
- Ceiling statement – Yes, the ceiling! It’s the most underrated surface in any bathroom
- Half-wall application – Combine wallpaper on the top half with painted wainscoting on the bottom
The trick with peel-and-stick in bathrooms is choosing the right material. Look for vinyl-based options that can handle humidity. I once used a paper-based peel-and-stick in my guest bathroom, and let’s just say it didn’t end well. Learn from my mistakes, friends.
Application Tips That Actually Work
Start from the top and work your way down. Use a squeegee or credit card to smooth out bubbles as you go. And here’s a pro tip nobody talks about—let the wallpaper acclimate to your bathroom’s temperature for at least 24 hours before applying. This prevents shrinking or expanding after installation.
2. Moisture-Resistant Bathroom Wallpaper Recipes
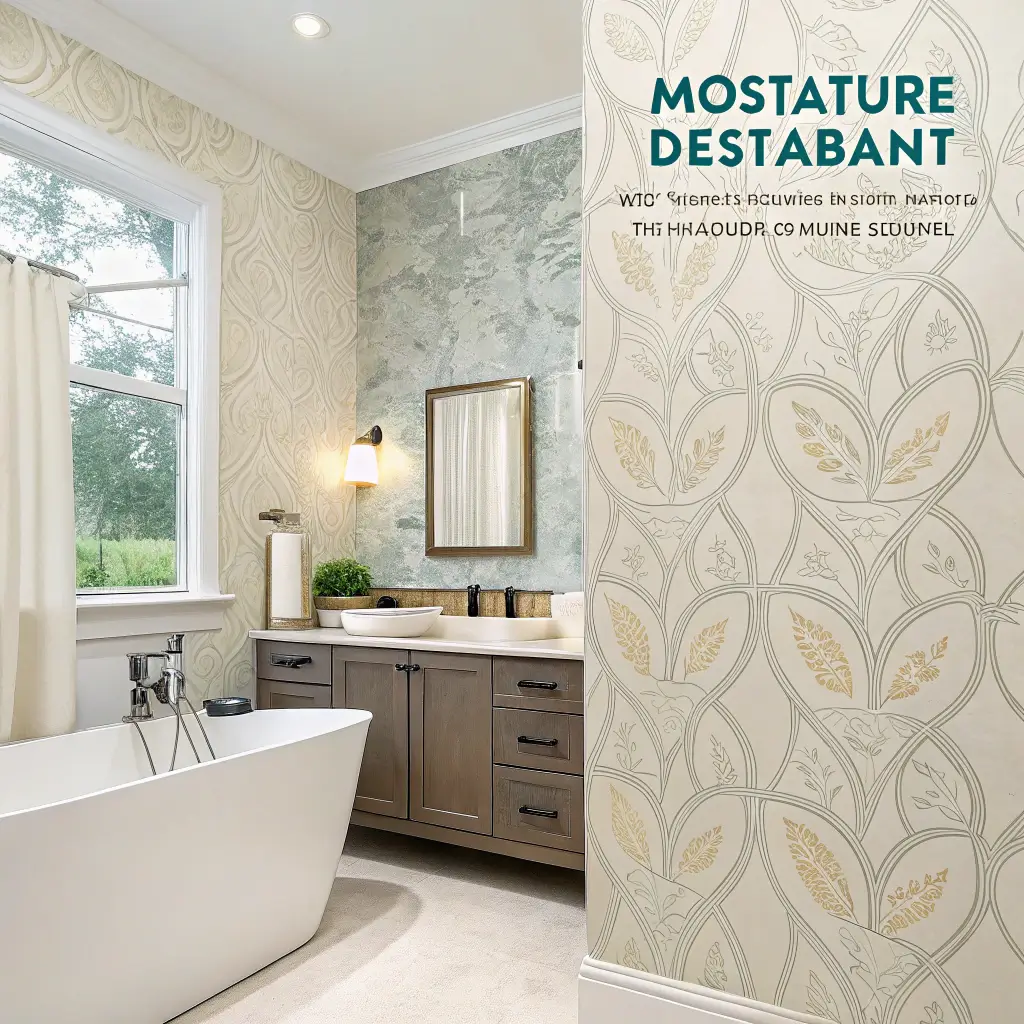
Bathrooms and moisture go together like peanut butter and jelly. Unfortunately, moisture and wallpaper have a more complicated relationship. But don’t worry—there are ways to make it work.
Creating Your Own Moisture-Resistant Solution
Here’s my secret recipe for making any wallpaper more moisture-resistant:
You’ll need:
- Clear polyurethane sealer (water-based)
- Foam roller
- Your chosen wallpaper
Steps:
- Apply your wallpaper and let it cure for 48 hours
- Apply a thin coat of water-based polyurethane using the foam roller
- Let it dry completely (usually 4-6 hours)
- Apply a second coat for extra protection
- Allow 72 hours before exposing to steam or moisture
This coating creates an invisible barrier that protects your wallpaper from humidity, splashes, and steam. I’ve used this method in my main bathroom, and after two years, the wallpaper still looks brand new.
Choosing Inherently Moisture-Resistant Materials
If DIY sealing sounds like too much work, look for wallpapers specifically designed for wet environments. Vinyl-coated wallpapers and solid vinyl wallpapers handle moisture beautifully. They’re wipeable, durable, and won’t peel at the first sign of steam.
3. Budget-Friendly Bathroom Wallpaper Hacks
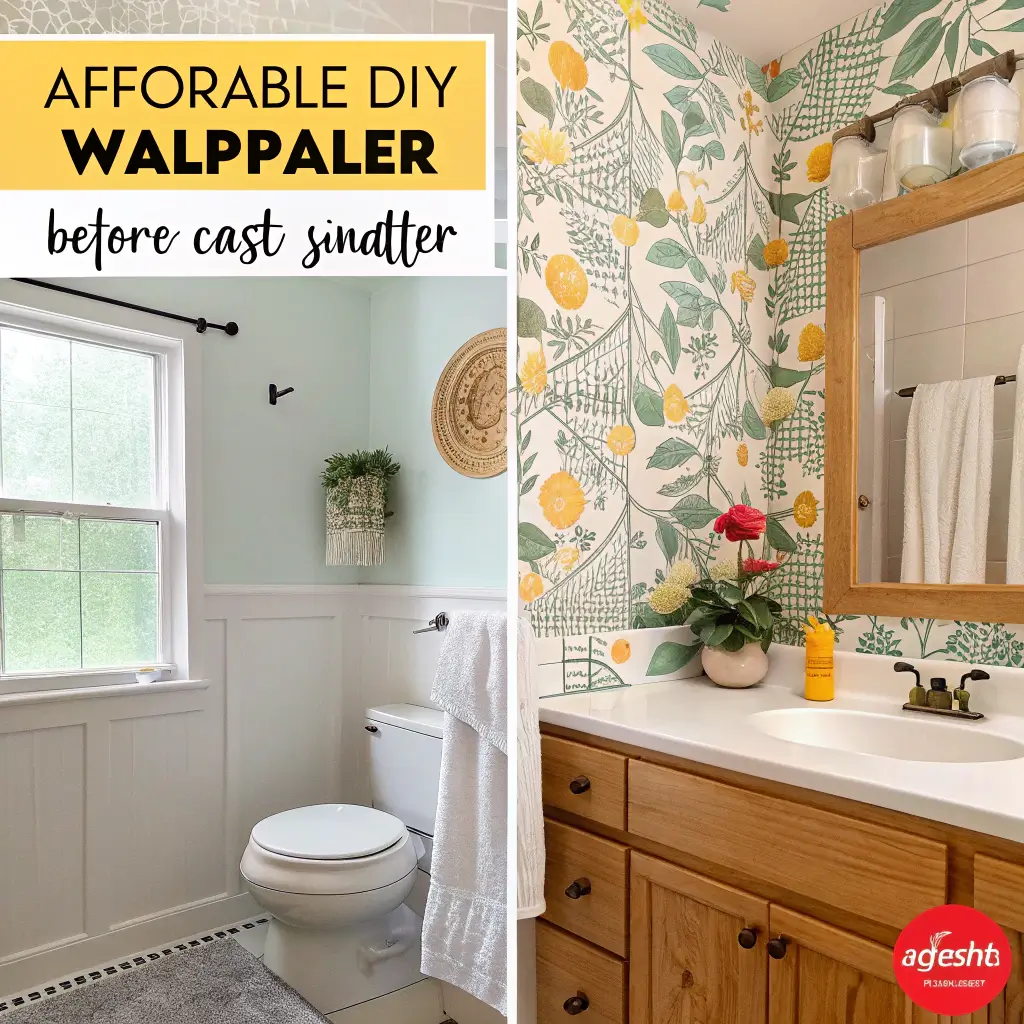
Let’s talk money. Or rather, let’s talk about how to spend less of it while still achieving amazing results. Because honestly, who wants to drop $200 on wallpaper for a tiny bathroom?
Creative Alternatives That Look Expensive
Fabric as wallpaper – This hack blew my mind when I first discovered it. You can use liquid starch to apply fabric directly to your walls. It’s removable, affordable, and gives you access to thousands of patterns you won’t find in traditional wallpaper. A yard of fabric costs around $10-15, while the same amount of designer wallpaper can run you $50 or more.
Gift wrap transformation – Hear me out. High-quality gift wrap, sealed with polyurethane, can create stunning accent walls for literally pennies. I’ve seen people create gorgeous metallic accent walls using holiday wrapping paper. The key is proper sealing to protect against moisture.
Contact paper creativity – Dollar store contact paper isn’t just for lining shelves anymore. Some patterns look surprisingly sophisticated when applied properly.
Where to Find Discounted Wallpaper
- Overstock sections at home improvement stores
- Facebook Marketplace and Craigslist (people often sell leftover rolls)
- End-of-season sales at major retailers
- Wallpaper sample books (perfect for small accent projects)
IMO, the best deals happen in January and July when stores clear out seasonal inventory. Mark your calendars!
4. Modern Geometric Bathroom Wallpaper DIY

Geometric patterns bring instant sophistication to any bathroom. There’s something about clean lines and mathematical precision that just screams “I have my life together” (even if you don’t—no judgment here).
Creating Custom Geometric Patterns
You don’t need to buy expensive geometric wallpaper when you can create your own. Here’s my favorite method:
Painted Geometric “Wallpaper”:
- Paint your base color and let it dry completely
- Use painter’s tape to create geometric shapes (triangles, hexagons, or abstract lines)
- Paint your secondary color over the taped design
- Remove tape carefully before paint fully dries
- Seal with clear coat for durability
This technique gives you complete control over colors and scale. Want oversized hexagons in navy and gold? Go for it. Prefer small triangles in soft pastels? You can do that too.
Trending Geometric Patterns for 2024
- Art deco arches – Curved geometric shapes are having a major moment
- Terrazzo-inspired dots – Random geometric shapes scattered across a neutral background
- Bold chevron – Classic but still striking when done in unexpected colors
- 3D cubes – Creates an optical illusion that adds depth to small spaces
The secret to pulling off geometric wallpaper in bathrooms? Keep the rest of the space simple. Let the pattern be the star, and use solid-colored towels, accessories, and fixtures.
5. Vintage Floral Bathroom Wallpaper Tutorial

Okay, I’ll admit it—I’m a sucker for vintage florals. There’s something incredibly charming about bringing those grandmother-chic vibes into a modern bathroom. But the key is doing it right, so it looks intentional rather than dated.
Sourcing Authentic Vintage Patterns
If you want truly vintage wallpaper, you have options:
- Antique stores and estate sales – Sometimes you’ll find unopened rolls from decades past
- Reproduction wallpaper companies – Brands like Bradbury & Bradbury specialize in authentic historical reproductions
- Vintage wallpaper books – Scan and print patterns onto adhesive paper
Modern Application Techniques for Vintage Patterns
The trick to making vintage florals feel fresh is unexpected placement. Instead of covering all four walls (unless you’re going for full grandma mode, which is valid), try these approaches:
- Single statement wall behind the toilet or vanity
- Inside a picture frame for framed wallpaper art
- Ceiling application for a surprising twist
- Behind open shelving to create depth
Pair vintage florals with modern fixtures like matte black faucets or minimalist mirrors. This contrast keeps the space from feeling like a time capsule.
6. Easy Step-by-Step Bathroom Wallpaper Application
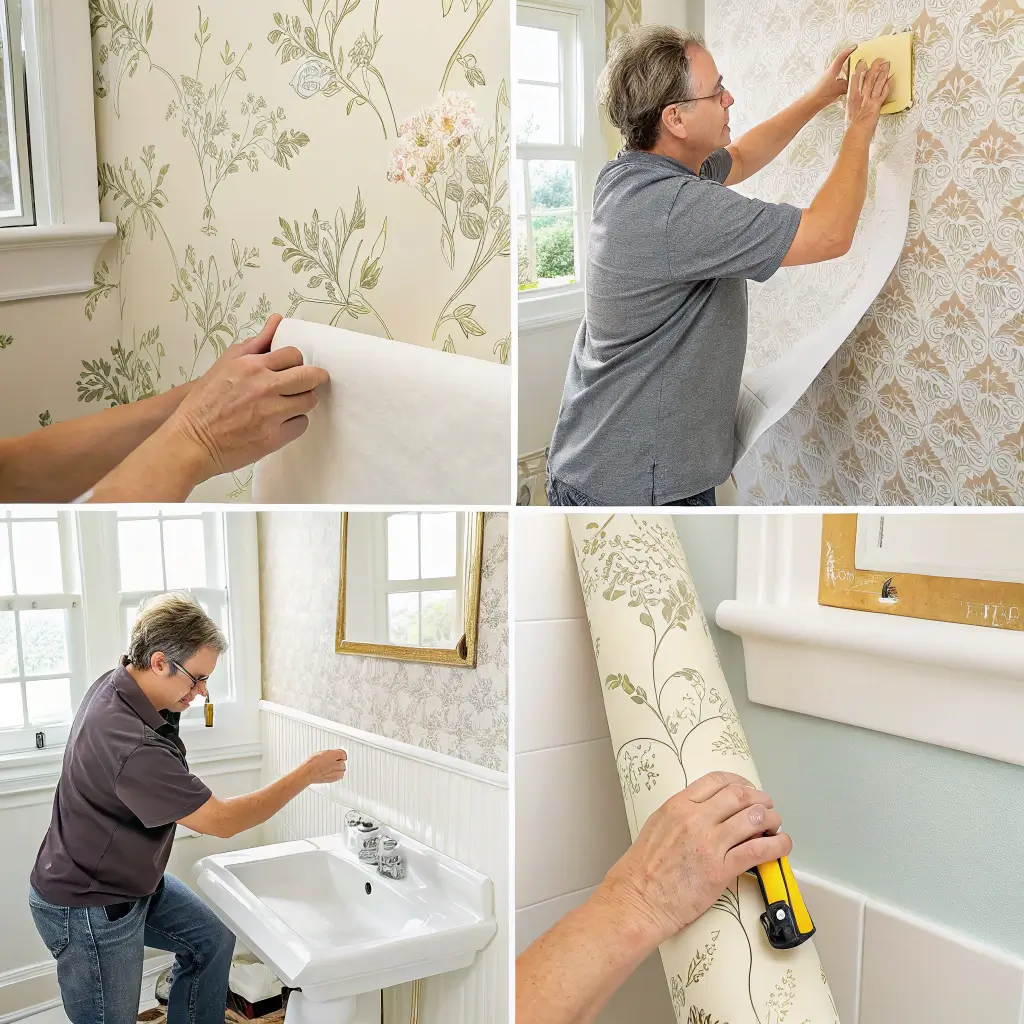
Alright, let’s get practical. Whether you’re a complete beginner or you’ve attempted wallpaper before (and failed—we’ve all been there), this step-by-step guide will set you up for success.
Preparation Is Everything
Before you even touch the wallpaper:
- Clean your walls thoroughly with TSP cleaner
- Fill any holes or cracks with spackle and sand smooth
- Apply primer if walls are newly painted or patched
- Measure your walls and calculate how much wallpaper you need (add 15% for waste)
- Check that all rolls have the same batch number for color consistency
The Actual Application Process
Tools you’ll need:
- Level
- Pencil
- Sharp utility knife
- Smoothing brush or plastic smoother
- Seam roller
- Sponge
- Step ladder
Step-by-step instructions:
- Find your starting point – Begin at the least visible corner, not the most prominent wall
- Draw a plumb line – Use your level to draw a perfectly vertical line where your first strip will go
- Cut your first strip – Add 4 inches extra at top and bottom for trimming
- Apply adhesive – If using pre-pasted, activate according to instructions; if unpasted, apply paste evenly
- Book the wallpaper – Fold pasted sides together and let rest for recommended time
- Apply to wall – Align with plumb line, smooth from center outward
- Trim excess – Use your utility knife against a straight edge for clean cuts
- Repeat – Match patterns carefully on subsequent strips
- Roll seams – Use seam roller after 15-20 minutes to secure edges
Pro tip: Work on one strip at a time. Don’t pre-paste multiple strips or you’ll end up with a sticky disaster.
Also Read: 15 Luxurious Hotel Bathroom Design Luxury Ideas for a Spa Feel
7. Creative Accent Wall Bathroom Wallpaper Recipes
Not every bathroom needs four wallpapered walls. In fact, sometimes less really is more. Accent walls let you make a bold statement without overwhelming a small space—or your budget.
Choosing the Perfect Accent Wall
The best accent wall is usually the one you see first when entering the bathroom. Typically, this means:
- The wall behind the toilet
- The wall behind a freestanding tub
- The vanity wall (if your mirror doesn’t cover most of it)
Avoid choosing walls with multiple windows, doors, or interruptions. You want a relatively unobstructed canvas for maximum impact.
Creative Accent Wall Recipes
Recipe #1: The Bold Maximalist
- Choose an oversized pattern in saturated colors
- Apply to the entire focal wall
- Keep remaining walls in a coordinating solid color
- Use accessories that pull colors from the wallpaper
Recipe #2: The Subtle Sophisticate
- Select a textured or tone-on-tone pattern
- Apply from chair rail height up to ceiling
- Paint below chair rail in complementary color
- Add matching or contrasting crown molding
Recipe #3: The Unexpected Pop
- Wallpaper the ceiling instead of walls
- Choose a pattern that looks good from below
- Keep walls simple and white
- Add recessed lighting to highlight the pattern
8. Waterproof Bathroom Wallpaper Designs for Small Spaces
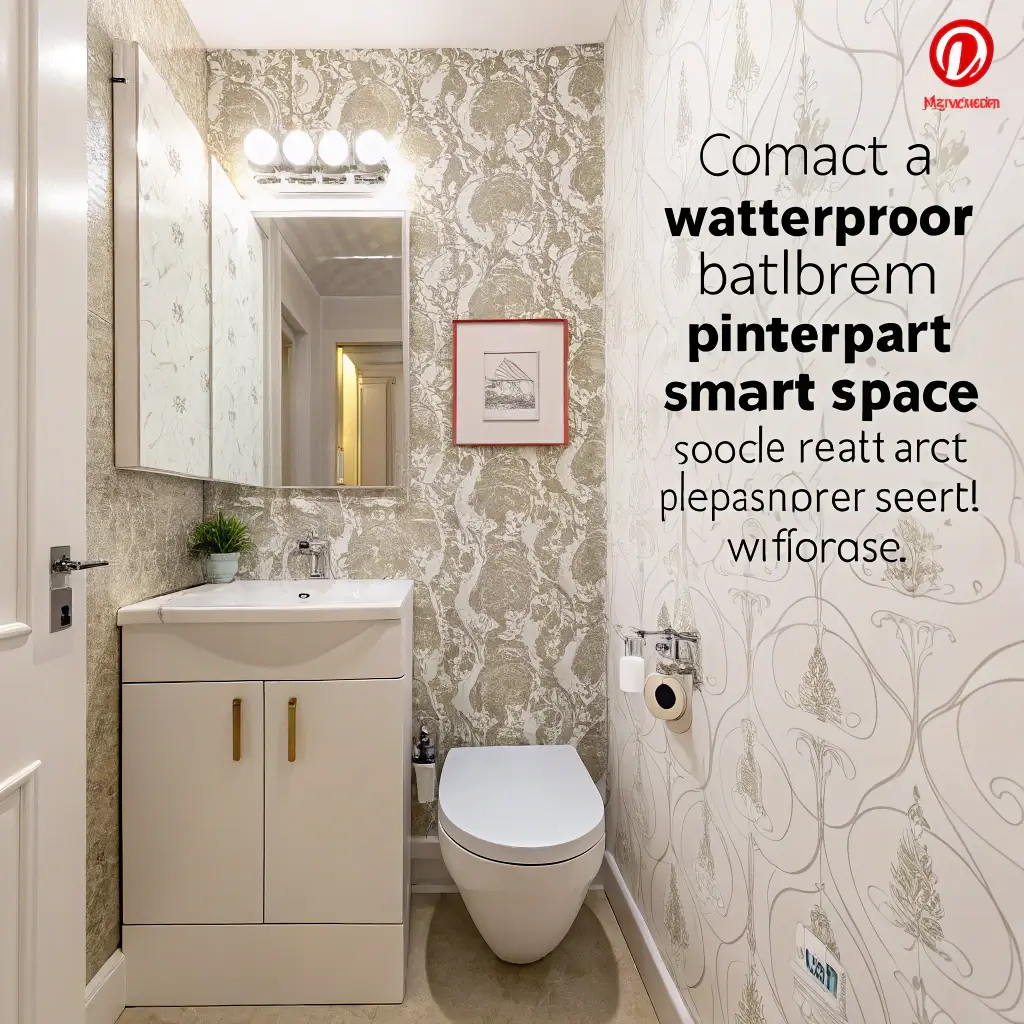
Small bathrooms present unique challenges. Every design decision feels amplified when you’re working with limited square footage. But here’s the good news: small spaces can handle bold choices better than you might think.
Patterns That Work in Tiny Bathrooms
Forget the old rule about only using small patterns in small spaces. That’s outdated advice that leads to boring bathrooms. Here’s what actually works:
- Large-scale patterns make walls recede and create the illusion of more space
- Vertical stripes draw the eye upward and make ceilings feel higher
- Light backgrounds with darker patterns add interest without closing in the space
- Reflective or metallic wallpapers bounce light around and create dimension
Waterproofing Solutions for Tight Quarters
In small bathrooms, every surface gets exposed to moisture. You need serious waterproofing:
Top waterproof wallpaper options:
- Solid vinyl wallpaper (most water-resistant option)
- Vinyl-coated paper (good moisture resistance, more affordable)
- Non-woven wallpaper with vinyl coating
- Glass bead wallpaper (unique texture, excellent moisture resistance)
Additional protection measures:
- Apply clear waterproof sealer over installed wallpaper
- Use proper bathroom-rated adhesive
- Ensure excellent ventilation with exhaust fan
- Keep wallpaper at least 4 inches from shower or tub edges
9. Bold Color Bathroom Wallpaper DIY Ideas
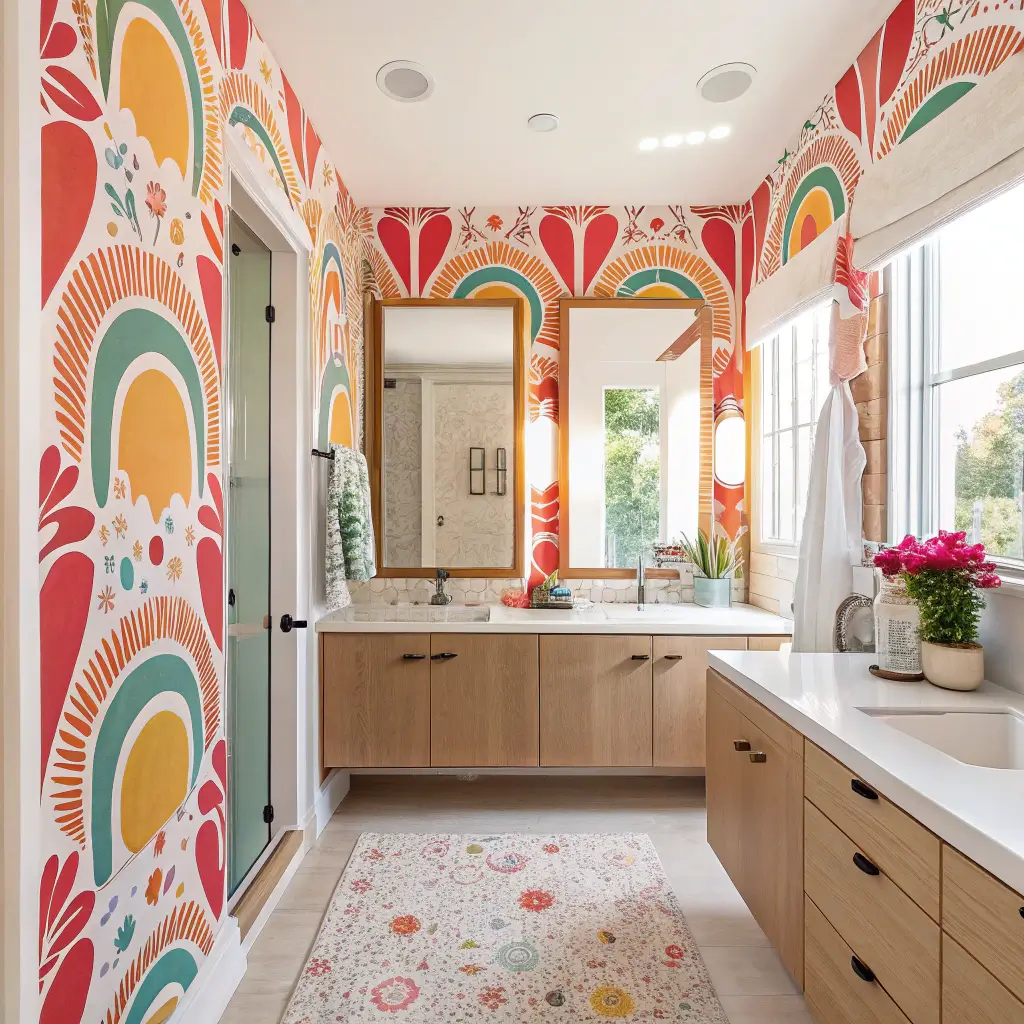
If you’ve been playing it safe with neutrals, this section is your permission slip to go bold. Bathrooms are perfect spaces for color risks because they’re typically small and private. Worst case? You change it. Best case? You create a show-stopping space that makes you smile every morning.
Colors That Transform Bathrooms
Deep jewel tones create drama and sophistication:
- Emerald green
- Sapphire blue
- Amethyst purple
- Ruby red
Unexpected neutrals add warmth without overwhelming:
- Terracotta
- Olive green
- Mustard yellow
- Burnt orange
DIY Bold Color Application Techniques
Technique #1: Color Blocking
Use solid-colored adhesive vinyl to create bold geometric shapes. This works beautifully combined with a patterned wallpaper—apply the wallpaper first, then add vinyl color blocks in strategic locations.
Technique #2: Ombre Effect
Create a gradient effect by applying progressively darker shades from ceiling to floor. You can achieve this with paint, but peel-and-stick panels in graduating tones create a similar effect with less effort.
Technique #3: Bold Base with Subtle Pattern
Choose a bold solid color as your base, then apply a subtle pattern over top using a lighter shade. This creates depth and visual interest without pattern overload.
FYI, bold colors photograph amazingly—just something to consider if you’re planning to sell your house or show off on social media. 🙂
Also Read: 15 Elegant Dark Luxury Bathroom Ideas for a Bold Statement
10. Minimalist Bathroom Wallpaper Patterns
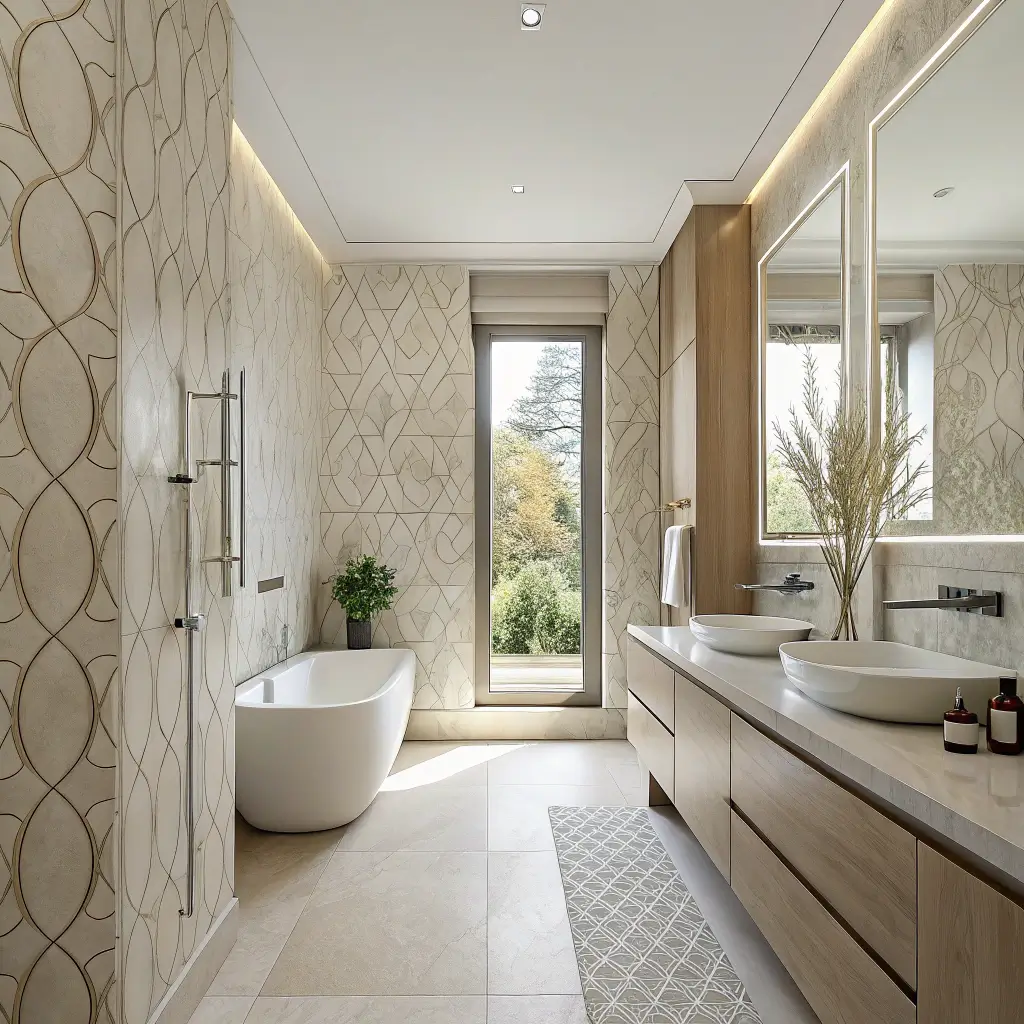
Not everyone wants bold patterns and bright colors. If your aesthetic leans toward clean, calm, and uncluttered, minimalist wallpaper might be exactly what your bathroom needs.
What Makes Wallpaper “Minimalist”
Minimalist doesn’t mean boring. It means intentional and refined. Look for these characteristics:
- Limited color palette (usually 2-3 colors maximum)
- Simple, repeating geometric shapes
- Plenty of negative space within the pattern
- Subtle texture rather than bold graphics
- Organic, hand-drawn elements for warmth
Top Minimalist Patterns for Bathrooms
- Fine line drawings – Delicate botanical sketches or abstract lines
- Scattered dots – Random or organized, creates visual interest without chaos
- Subtle stripes – Thin, widely-spaced lines in soft colors
- Tone-on-tone patterns – Same color in different shades creates dimension
- Japanese-inspired designs – Simple motifs with plenty of white space
Creating Your Own Minimalist Wallpaper
If you can’t find exactly what you want, create it:
- Start with high-quality lining paper in white or cream
- Use stamps, stencils, or freehand drawing to add simple motifs
- Space patterns widely for that minimal aesthetic
- Seal with clear matte finish for protection
This approach gives you a completely custom look at a fraction of designer wallpaper prices.
11. Textured Bathroom Wallpaper Recipes You Can Try
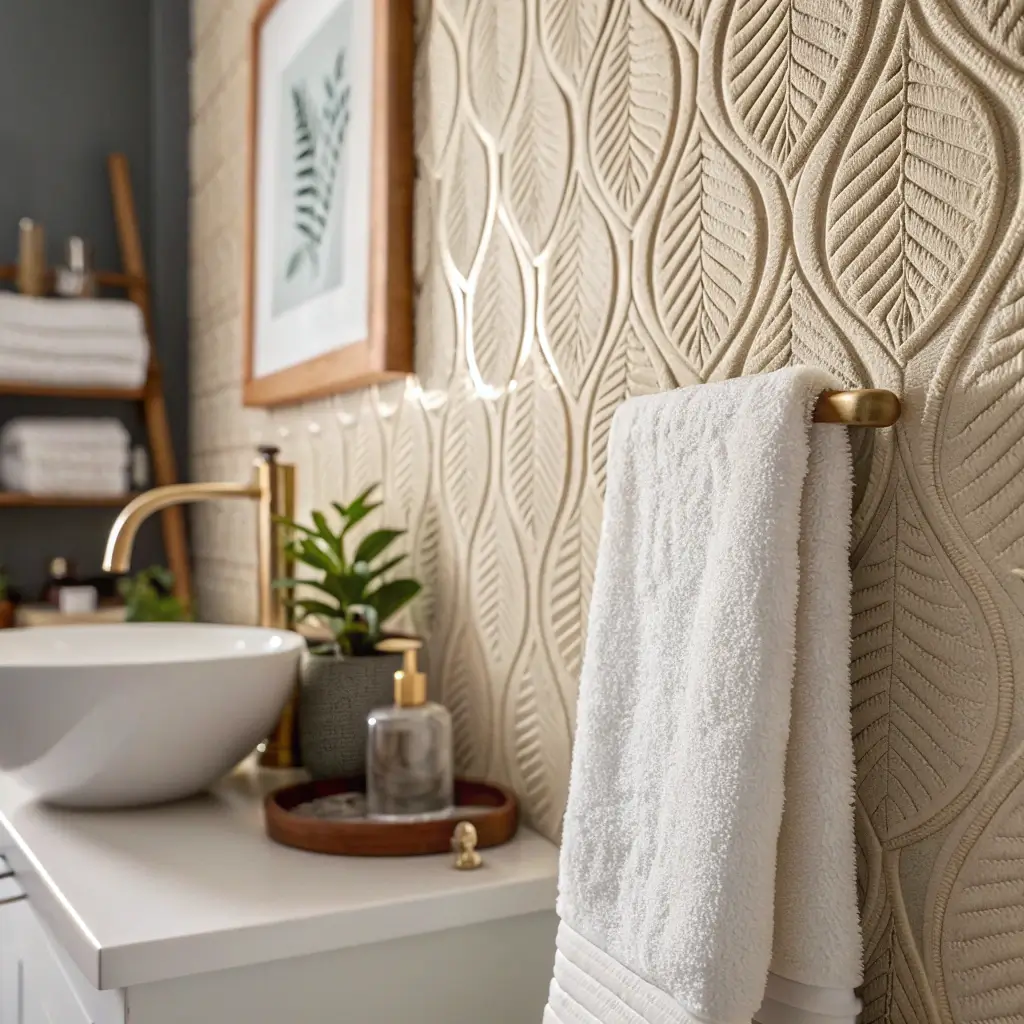
Texture adds dimension that flat wallpaper simply can’t match. When light hits a textured wall, it creates shadows and highlights that bring your bathroom to life.
DIY Textured Wallpaper Techniques
Recipe #1: Grasscloth Effect
- Apply burlap or sisal fabric using liquid starch
- Creates natural, organic texture
- Seal thoroughly for moisture protection
- Best used on accent walls away from direct water
Recipe #2: Faux Brick
- Use 3D brick panel wallpaper
- Paint with whitewash for modern farmhouse look
- Seal all seams carefully
- Add industrial fixtures to complete the look
Recipe #3: Raised Stencil Texture
- Apply base wallpaper or paint
- Use joint compound through stencils to create raised patterns
- Sand lightly when dry
- Paint and seal for durability
Recipe #4: Beadboard Wallpaper
- Apply embossed beadboard-style wallpaper
- Paint in desired color after installation
- Creates classic cottage bathroom feel
- More affordable than actual beadboard
Texture Considerations for Humid Environments
Some textures handle moisture better than others:
Good for bathrooms:
- Vinyl textured wallpaper
- Painted and sealed dimensional patterns
- Ceramic tile wallpaper
- Metallic textured papers
Use with caution:
- Natural fiber wallpapers (need extra sealing)
- Paper-based textures
- Fabric wallpapers without vinyl backing
12. Eco-Friendly Bathroom Wallpaper DIY Ideas

If you’re trying to reduce your environmental footprint, your bathroom renovation shouldn’t sabotage those efforts. Good news—there are plenty of eco-friendly options that look just as good as conventional alternatives.
Sustainable Wallpaper Materials
Natural fiber wallpapers:
- Grasscloth
- Hemp
- Jute
- Cork
These materials come from renewable sources and biodegrade naturally. However, they require proper sealing for bathroom use.
Recycled content wallpapers:
Many manufacturers now offer wallpapers made from recycled paper or recycled plastic bottles. Look for certifications like FSC (Forest Stewardship Council) or statements about recycled content percentage.
Water-based ink printed wallpapers:
Traditional wallpapers use solvent-based inks that release VOCs (volatile organic compounds). Water-based alternatives reduce indoor air pollution and environmental impact during manufacturing.
DIY Eco-Friendly Alternatives
Pressed flower wallpaper:
- Press flowers and leaves between heavy books
- Arrange on kraft paper backing
- Apply using plant-based paste
- Seal with natural beeswax coating
- Creates unique, biodegradable wall covering
Newspaper accent wall:
- Collect old newspapers or vintage book pages
- Apply using flour-and-water paste
- Seal with water-based polyurethane
- Recycles materials destined for landfill
- Creates fascinating textural interest
Natural fabric walls:
- Use organic cotton, linen, or hemp fabric
- Apply with liquid starch (non-toxic and removable)
- Seal with natural sealant if needed
- Washable and replaceable
Also Read: 15 Elegant Luxury Spa Bathroom Ideas for a Peaceful Retreat
13. Luxury Bathroom Wallpaper Look on a Budget

We’ve all seen those stunning luxury bathrooms with silk wallpaper and gold accents. While the originals might cost thousands, you can achieve remarkably similar looks for a fraction of the price.
Faking Expensive Wallpaper Styles
Marble effect wallpaper:
Real marble costs a fortune. Marble-look wallpaper costs $20-50 per roll and is practically indistinguishable in photos. Look for high-resolution printed patterns with realistic veining.
Silk-look alternatives:
True silk wallpaper runs $100+ per roll. Vinyl wallpapers with a subtle sheen can mimic the luxurious look for under $30.
Metallic accents:
Gold and silver wallpapers scream luxury. Peel-and-stick metallic options provide the same glamour without permanent commitment or high cost.
Budget Luxury Recipe
Here’s my formula for creating a luxury bathroom on a budget:
- Choose one “hero” wallpaper – This is where you splurge slightly (but still under $50/roll)
- Apply to single accent wall – One roll often covers this
- Paint remaining walls in coordinating color
- Upgrade hardware – New faucets, drawer pulls, and light fixtures
- Add luxury touches – Fresh white towels, decorative trays, quality soap dispensers
The total cost? Usually under $200 for a transformation that looks like thousands.
14. Custom Pattern Bathroom Wallpaper Tutorial

Sometimes you want something truly unique—a pattern nobody else has. Creating custom wallpaper sounds intimidating, but it’s absolutely achievable with modern tools and a little creativity.
Method 1: Digital Custom Printing
Several companies now offer custom wallpaper printing:
- Spoonflower – Upload designs, choose material, order by the roll
- Shutterfly – Personal photos as wallpaper
- Custom Wall Graphics – Large-format printing on various substrates
You can create patterns using:
- Personal photographs
- Digital art you’ve created
- Scanned hand-drawn designs
- Graphic design software creations
Method 2: Hand-Painted Custom Wallpaper
Materials needed:
- Lining paper or kraft paper rolls
- Acrylic paints
- Stencils or stamps (optional)
- Clear sealer
Process:
- Roll out paper on flat surface
- Create your design using paint, stamps, or freehand drawing
- Work in manageable sections
- Let dry completely between colors
- Seal with clear polyurethane
- Apply to walls using standard wallpaper paste
This method creates a completely one-of-a-kind bathroom that reflects your personality.
Method 3: Collage Wallpaper
Create unique wallpaper from collected materials:
- Vintage postcards
- Magazine clippings
- Scrapbook papers
- Personal memorabilia
Apply pieces directly to walls using decoupage medium, overlapping edges slightly. Finish with multiple clear sealer coats for durability and moisture protection.
15. Quick Bathroom Wallpaper Makeover Recipes
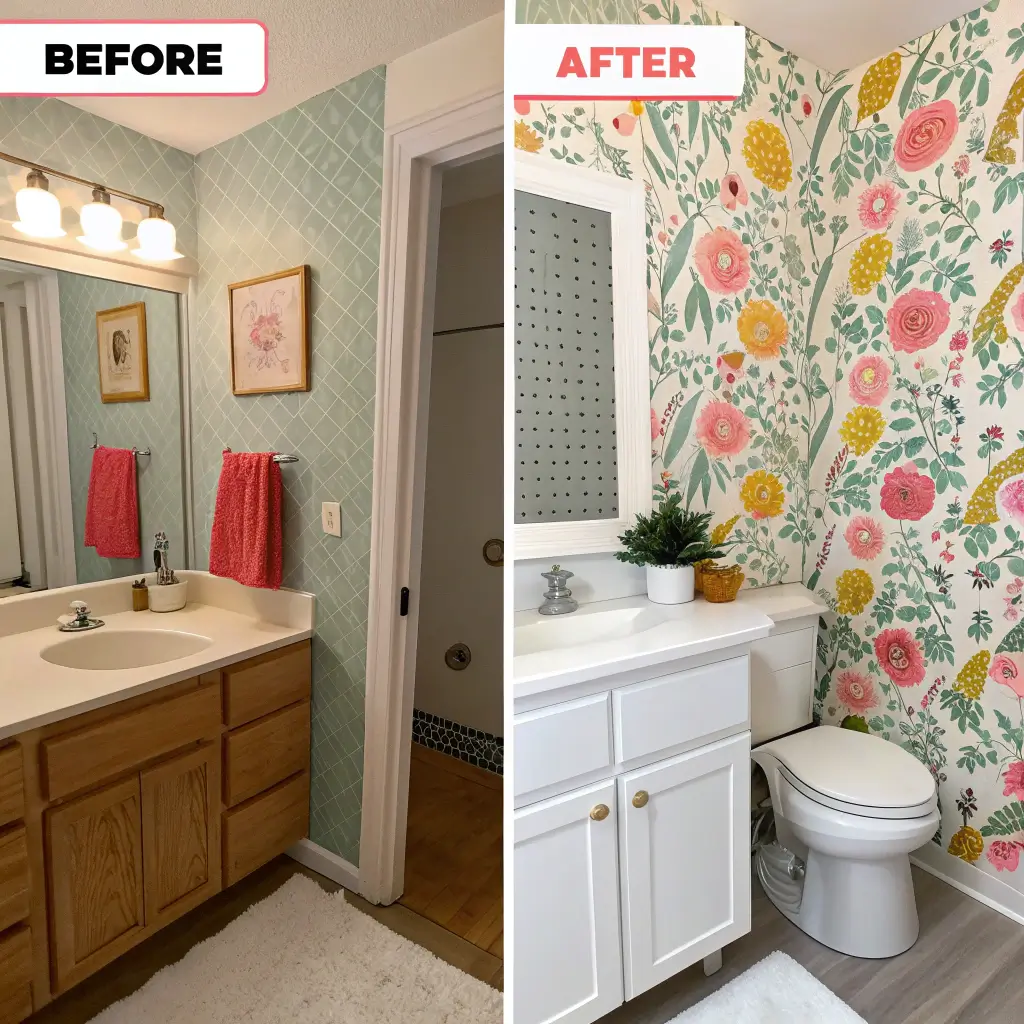
Sometimes you need results fast. Whether you’re preparing for guests, staging a home for sale, or just feeling impatient (same), these quick makeover recipes deliver impact without weeks of work.
The One-Hour Transformation
What you’ll need:
- Peel-and-stick wallpaper
- Scissors
- Smoothing tool
- Level
The process:
Focus on the smallest wall in your bathroom—typically behind the toilet or a small niche. A single wall requires minimal measuring, cutting, and application time. One strip of wallpaper can completely change the feel of your bathroom in under an hour.
The Weekend Warrior Recipe
Saturday:
- Prep walls (clean, patch, prime if needed)
- Measure and calculate wallpaper needs
- Purchase supplies
- Cut all wallpaper strips with 4-inch overage
Sunday:
- Apply wallpaper systematically
- Trim and smooth each section
- Allow to cure before using bathroom normally
The Renter’s Revenge :/
For those of us who can’t make permanent changes:
- Use peel-and-stick exclusively
- Focus on removable applications
- Test adhesion in hidden spot first
- Document original condition with photos
- Keep removed pieces for potential reapplication elsewhere
Best quick-impact areas for renters:
- Back of door
- Inside medicine cabinet
- Backs of open shelves
- Removable accent panels
Bonus Tips for Long-Lasting Results
Before I wrap up, here are some extra tips I’ve learned through trial and error:
Maintenance matters:
- Wipe down wallpapered walls monthly with slightly damp cloth
- Address peeling edges immediately with seam repair adhesive
- Run exhaust fan during and after showers to reduce moisture exposure
- Touch up sealed areas annually
Common mistakes to avoid:
- Applying wallpaper over existing wallpaper (remove it first!)
- Skipping primer on new drywall
- Ignoring pattern matching during application
- Using paper-based options in high-moisture areas
- Rushing the curing process
When to call a professional:
- Complex patterns requiring precise matching
- Walls in poor condition
- Areas with lots of corners, windows, or obstacles
- Expensive wallpaper you can’t afford to waste
Final Thoughts
Transforming your bathroom with wallpaper doesn’t require professional skills, unlimited budgets, or design degrees. It requires willingness to try, patience during application, and a little bit of creativity.
I’ve walked you through 15 different approaches, from budget-friendly hacks to luxury looks, from minimalist patterns to bold color explosions. The right choice for your bathroom depends on your personal style, your practical needs, and honestly, your patience level.
My biggest piece of advice? Start small. Pick one of these ideas that excites you and try it in your powder room or guest bathroom first. Once you see how achievable these projects really are, you’ll be ready to tackle bigger spaces with confidence.
Your bathroom deserves to be more than just functional. It should be a space that makes you happy—even at 6 AM when you’re barely awake. So grab that wallpaper, gather your tools, and get started. Your beautiful bathroom awaits.
Now go make something amazing. You’ve got this. 🙂