15 Modern Peel and Stick Floor Tile Bathroom Ideas for Any Home
Remember when bathroom renovations meant calling contractors, dealing with dust for weeks, and watching your bank account cry? Yeah, me too.
But here’s the thing – peel and stick tiles have completely changed the game, and I’m honestly obsessed with how they’ve transformed my own bathroom spaces over the years.
You know what’s wild? These tiles aren’t your grandma’s contact paper anymore. Today’s options look so realistic that my plumber asked who installed my “marble” flooring last month. The answer? Me, myself, and I – armed with nothing but a utility knife and a free Saturday afternoon.
Let’s talk about 15 killer peel and stick tile ideas that’ll make your bathroom look like you hired an expensive designer. Spoiler alert: you won’t need to sell a kidney to afford any of these transformations.
Modern Peel and Stick Bathroom Floor Makeovers
Modern bathroom design screams clean lines, neutral palettes, and that Instagram-worthy aesthetic we all secretly crave. The best modern peel and stick tiles mimic concrete, large-format porcelain, or sleek stone patterns.
I recently helped my sister transform her outdated 90s bathroom with gray concrete-look tiles from StickTILES. The transformation took literally four hours, and now her bathroom looks like something from a boutique hotel. The tiles feature subtle texture variations that catch light beautifully – nobody believes they’re peel and stick until we tell them.
Want that ultra-modern look? Go for 12×24 inch rectangular tiles in matte finishes. These larger formats create fewer seam lines, making your bathroom appear more spacious and expensive. Plus, the installation goes faster when you’re working with bigger pieces.
Key Modern Design Elements:
- Neutral color palettes (grays, whites, blacks)
- Large format tiles for minimal grout lines
- Matte or semi-gloss finishes
- Geometric layouts like herringbone or chevron
- Monochromatic color schemes
Small Bathroom Peel and Stick Tile Transformations
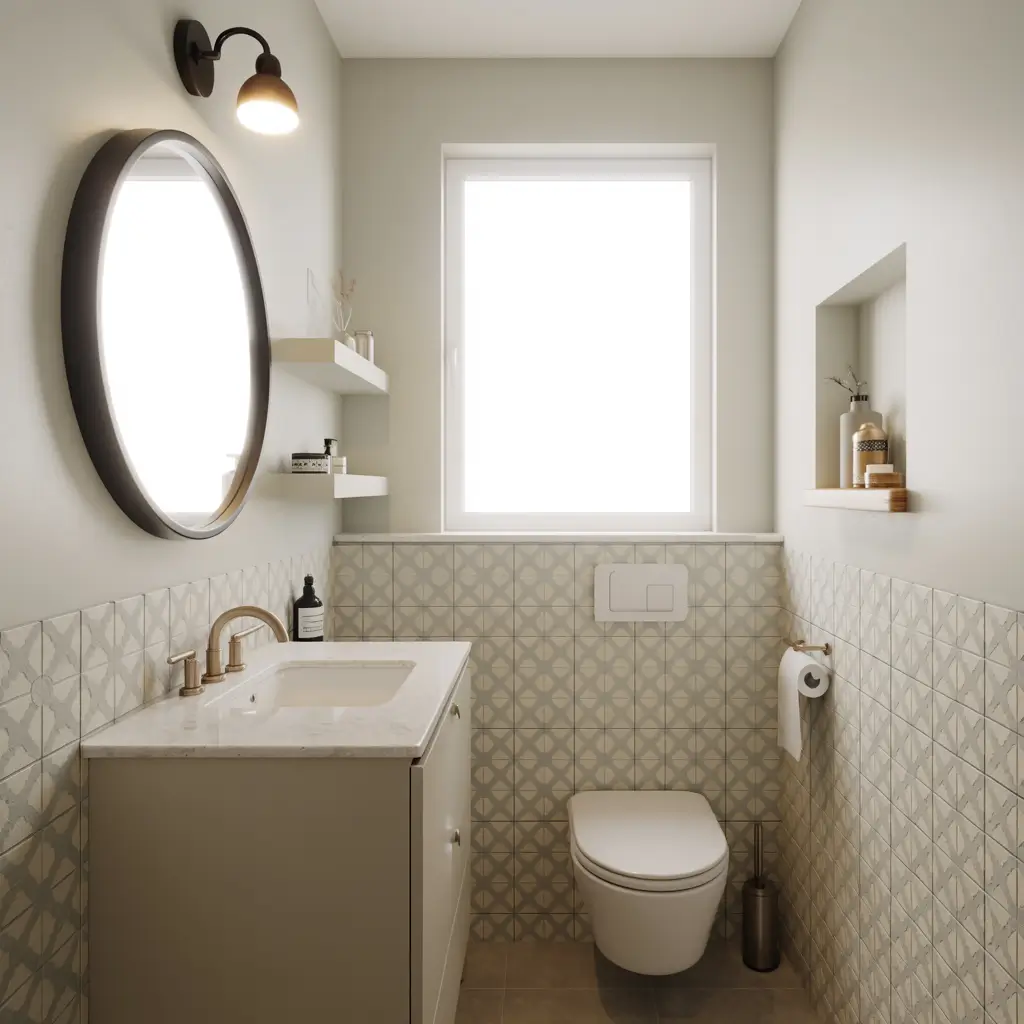
Small bathrooms need special treatment, and honestly? Peel and stick tiles might be the best thing that ever happened to tiny powder rooms. The trick lies in choosing patterns and colors that create visual expansion.
Light-colored tiles reflect more light, making your space feel bigger. I learned this the hard way after installing dark tiles in my first apartment’s bathroom – talk about feeling like you’re showering in a cave! Now I swear by white or light gray tiles with subtle veining patterns.
Consider diagonal installation patterns for maximum impact. When you place square tiles at a 45-degree angle, your eye naturally follows the longest lines, creating an illusion of more space. It’s basically visual trickery, and it works every single time.
Space-Expanding Tips:
- Choose tiles no smaller than 12×12 inches
- Stick with light, reflective colors
- Install tiles diagonally to elongate the space
- Minimize contrast between tiles and walls
- Use the same tiles on walls and floors for continuity
Also Read: Vertical Subway Tile Bathroom Ideas: 15 Modern Designs to Make Your Space Pop
Luxury-Look Peel and Stick Bathroom Floors
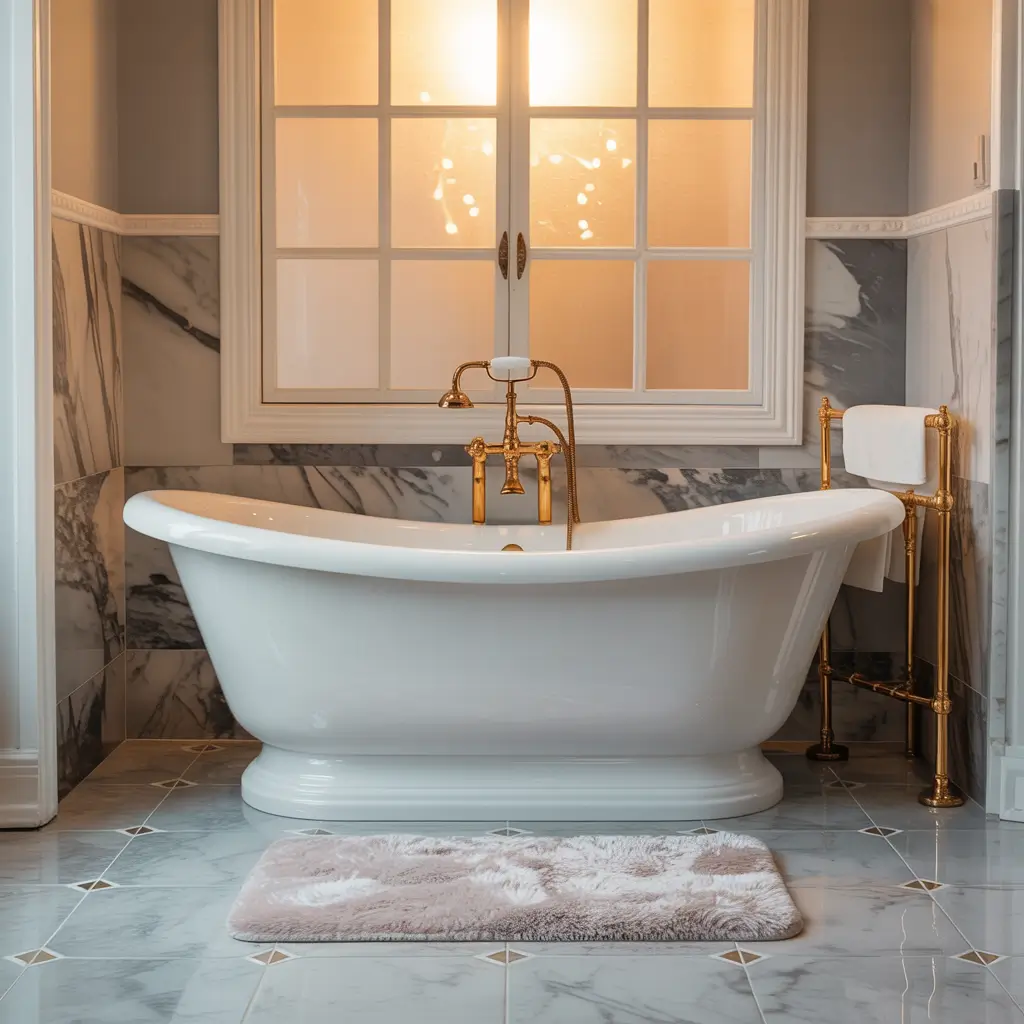
Who says luxury has to cost a fortune? Today’s peel and stick options include marble replicas so convincing, they’ll fool everyone (including yourself sometimes).
My personal favorite? Carrara marble-look tiles with realistic veining patterns. These babies cost about $2-3 per square foot compared to $15-30 for real marble. The math speaks for itself, right? Plus, you won’t cry when you eventually drop your hair straightener on them.
The secret to achieving that high-end look lies in the details. Choose tiles with varied patterns – nothing screams “fake” louder than identical marble veining repeated across your floor. Mix different tile designs from the same collection to create natural variation.
Luxury Features to Look For:
- High-resolution printing for realistic patterns
- Textured surfaces that mimic natural stone
- Color variations within tile sets
- Beveled edges for authentic grout lines
- Water-resistant coatings
Budget-Friendly Bathroom Tile Ideas
Let’s get real – bathroom renovations usually cost more than a decent used car. But peel and stick tiles let you completely transform your space for under $200. I’ve done three bathrooms this way, and my wallet thanks me every time.
Start with basic vinyl tiles in simple patterns. White subway-style tiles or basic gray squares work perfectly for creating a clean foundation. You can always add personality with colorful bath mats, shower curtains, and accessories.
FYI, buying in bulk saves serious cash. Many retailers offer discounts when you purchase multiple boxes. I scored 40% off my last tile purchase by waiting for a holiday sale and buying enough for two bathrooms.
Money-Saving Strategies:
- Shop end-of-season sales
- Buy extra tiles (usually 10-15% more) to avoid costly reorders
- Choose simple patterns over complex designs
- Install yourself instead of hiring help
- Look for contractor packs at wholesale stores
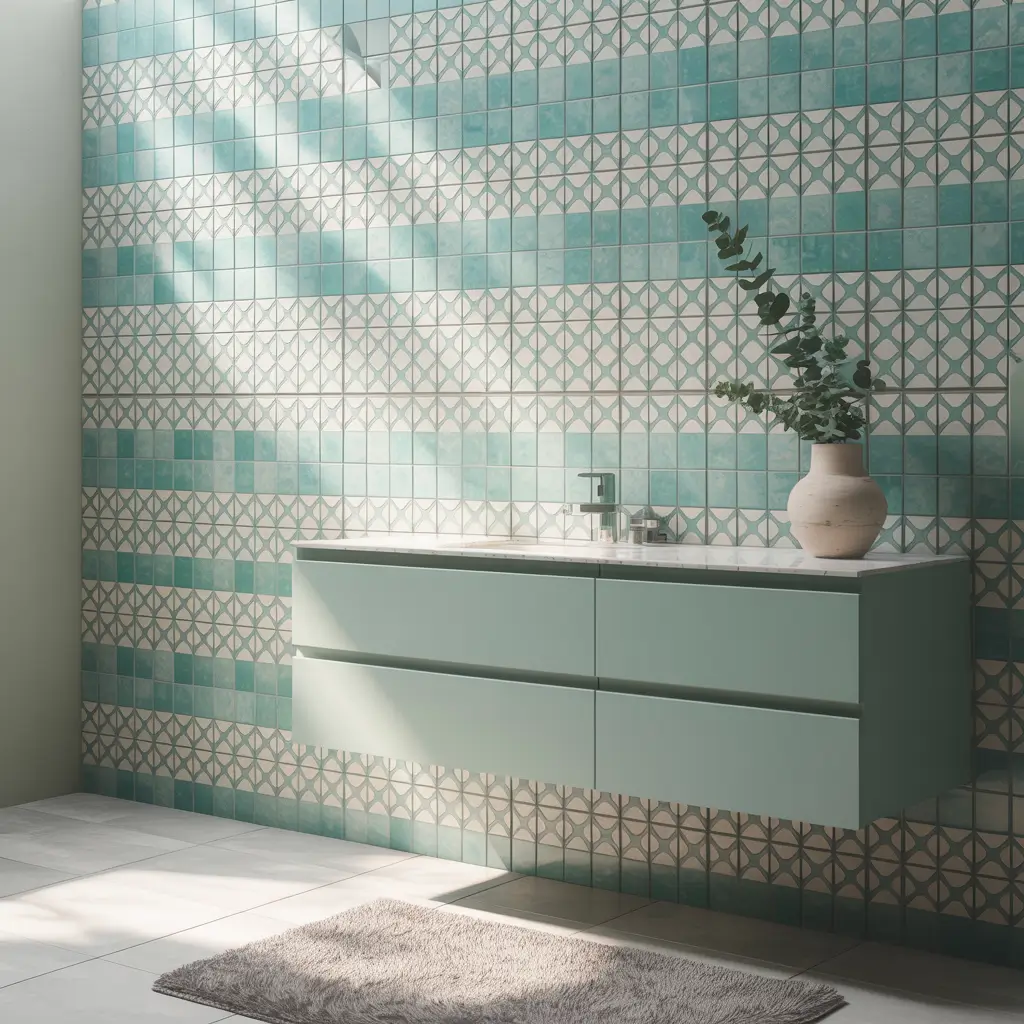
Patterned Peel and Stick Bathroom Tile Designs

Patterns add personality, and honestly? Going bold with patterned tiles might be the bravest and best decision you make. Moroccan-inspired designs, Spanish tiles, and retro patterns transform boring bathrooms into conversation starters.
My guest bathroom features black and white geometric tiles that everyone assumes cost a fortune. Reality check: $89 for the entire floor. The pattern draws attention away from the dated vanity I haven’t replaced yet – strategic distraction at its finest!
Remember that busy patterns work best in smaller doses. If your bathroom’s huge, go wild. But for average-sized spaces, consider using patterned tiles as accent strips or feature areas rather than covering every square inch.
Pattern Selection Guidelines:
- Scale patterns to room size (smaller rooms = smaller patterns)
- Mix patterned tiles with solid colors for balance
- Test pattern layouts before committing
- Consider the room’s existing fixtures and colors
- Use patterns to define zones (like shower areas)
Also Read: 15 Creative Black Hexagon Tile Bathroom Ideas for Stylish Homes
Minimalist Bathroom Peel and Stick Flooring
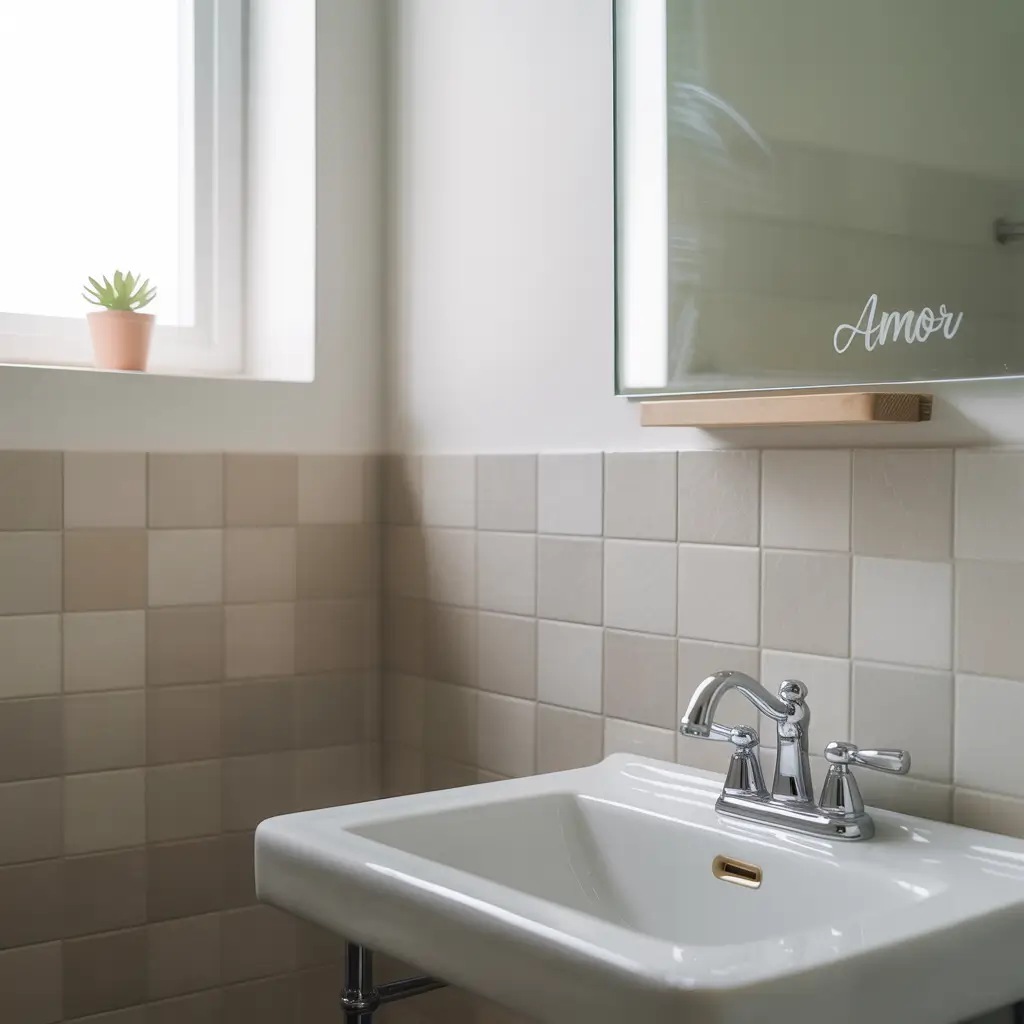
Minimalism isn’t boring – it’s sophisticated simplicity that never goes out of style. White or light gray tiles in uniform patterns create that zen-like atmosphere perfect for starting your day.
I converted my master bathroom to minimalist style last year using pure white hexagonal tiles. The uniform color and shape create visual calm, which honestly helps when you’re rushing to get ready at 6 AM. No visual noise, just clean simplicity.
The key to nailing minimalist design? Quality over quantity. Choose tiles with subtle texture or slight color variations to add depth without cluttering the visual space. Matte finishes work better than glossy ones for this aesthetic.
Minimalist Must-Haves:
- Neutral color palette (whites, grays, beiges)
- Consistent tile sizes and shapes
- Minimal grout line visibility
- Matte or satin finishes
- Simple geometric shapes
DIY Peel and Stick Tile Bathroom Upgrades
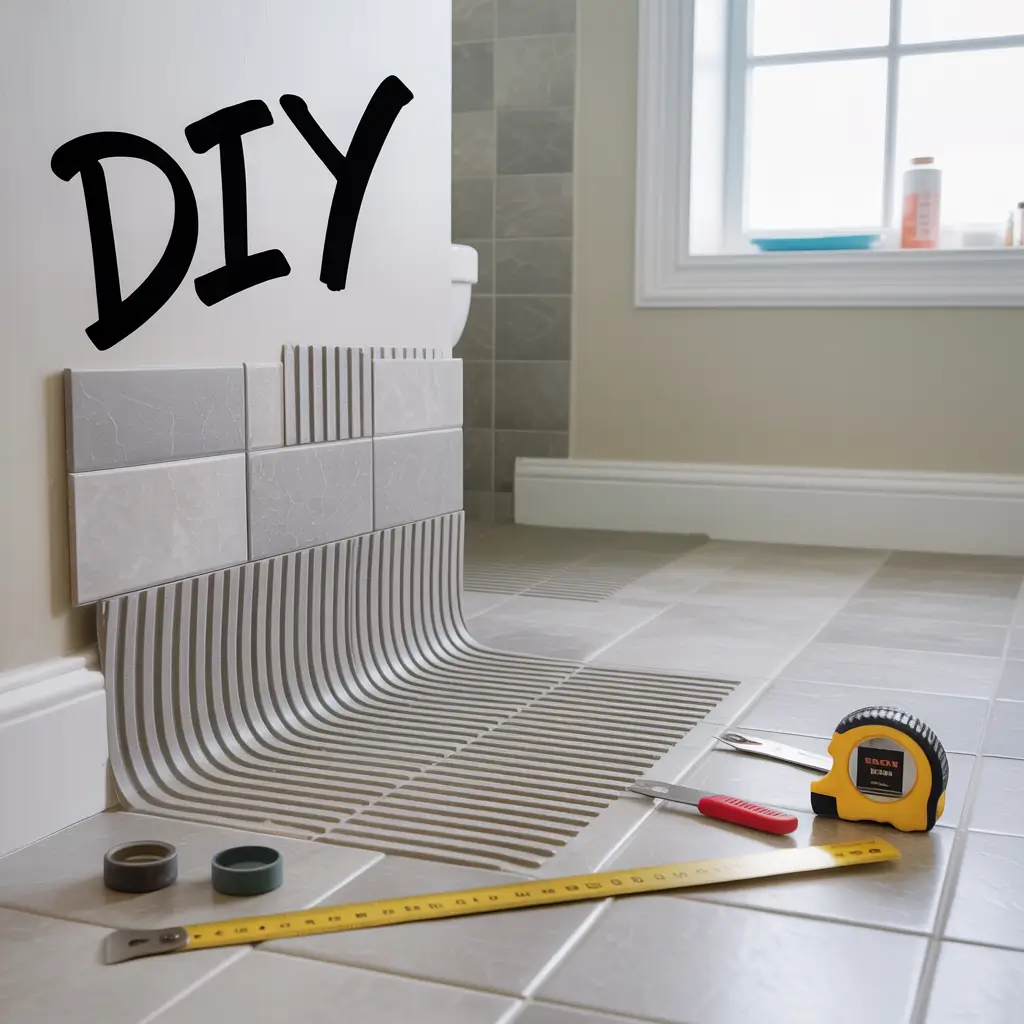
Rolling up your sleeves and doing it yourself feels incredibly satisfying. Most peel and stick installations require zero special tools – just a measuring tape, utility knife, and maybe a ruler.
My first DIY attempt involved YouTube tutorials and slight panic. Three years and four bathroom floors later, I can tile a standard bathroom in under three hours. The learning curve’s gentle, and mistakes are fixable (unlike traditional tile mishaps).
Start with a small powder room to build confidence. Clean the existing floor thoroughly, let it dry completely, then begin in the corner farthest from the door. Work your way out, pressing firmly on each tile to ensure proper adhesion.
DIY Installation Essentials:
- Clean and prep surfaces meticulously
- Acclimate tiles to room temperature for 24 hours
- Use a roller tool for better adhesion
- Cut tiles from the back for cleaner edges
- Keep extra tiles for future repairs
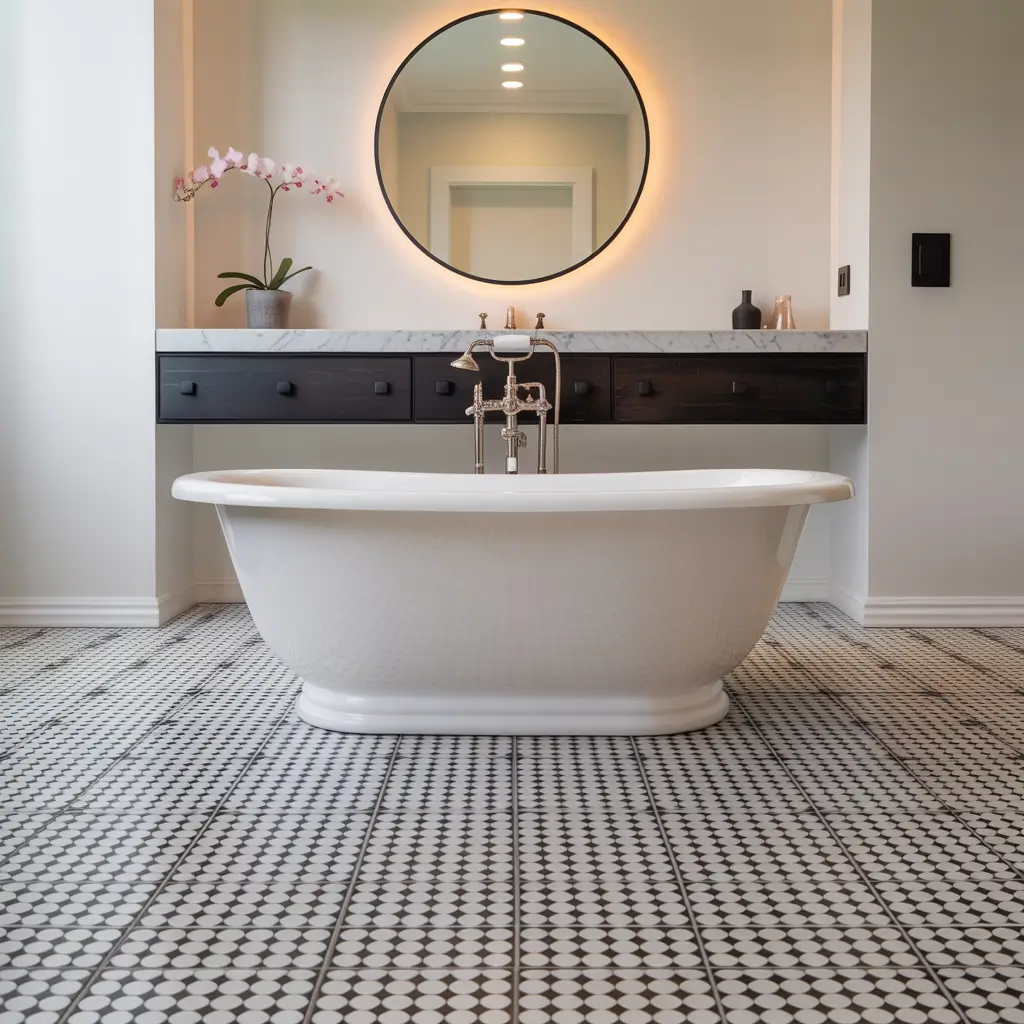
Vintage-Inspired Peel and Stick Bathroom Floors

Vintage charm meets modern convenience – what’s not to love? Black and white checkered patterns, penny tiles, and art deco designs bring old-school elegance without old-school installation headaches.
My 1920s bungalow bathroom desperately needed period-appropriate flooring. Original hex tiles would’ve cost thousands; peel and stick versions cost $150. The vintage vibe remains intact, and I kept enough money for the clawfoot tub I’d been eyeing.
Mix vintage floor patterns with modern fixtures for an updated take on classic style. Subway tiles, basketweave patterns, and octagon-and-dot designs work beautifully in bathrooms of any era.
Vintage Style Options:
- Classic black and white combinations
- Hexagonal or octagonal shapes
- Penny round patterns
- Checkerboard layouts
- Mosaic-inspired designs
Also Read: 15 Refreshing Beige Tile Bathroom Ideas and Calm Minimalist Looks
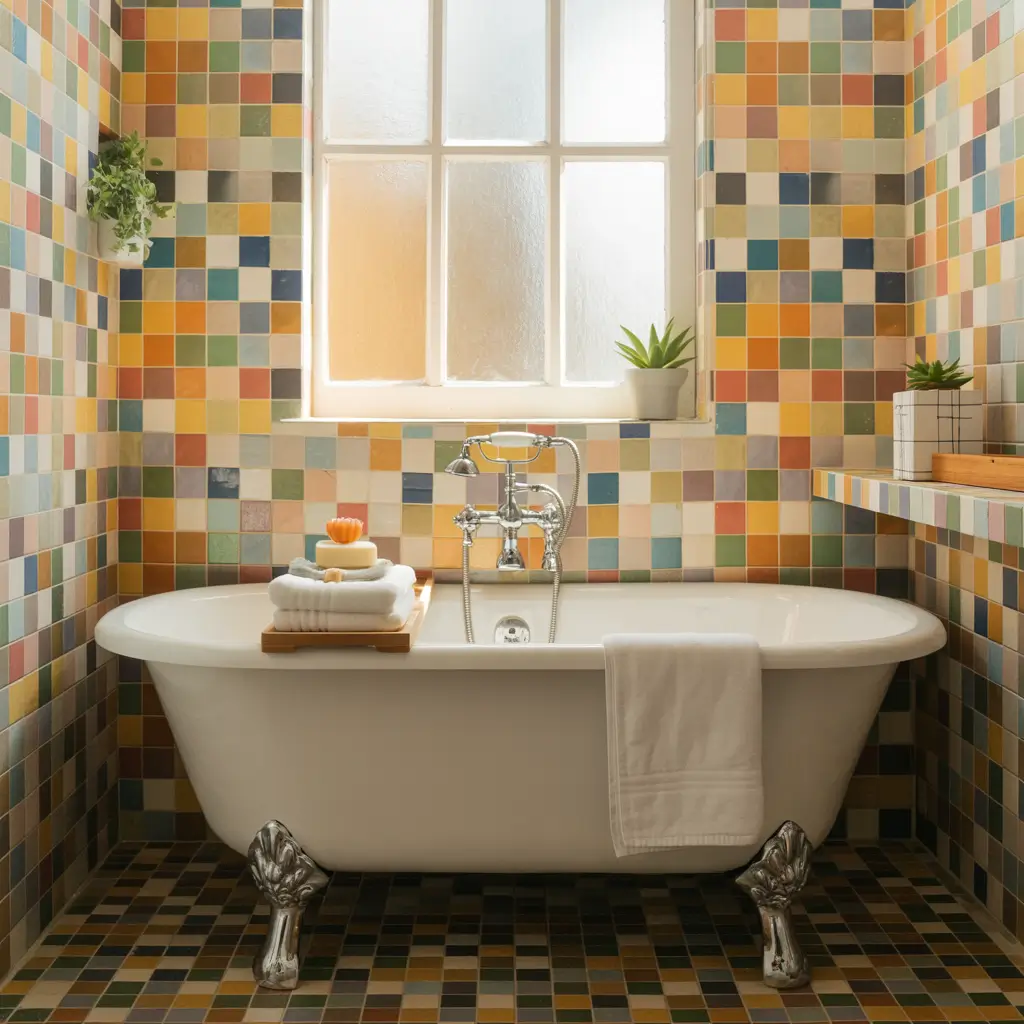
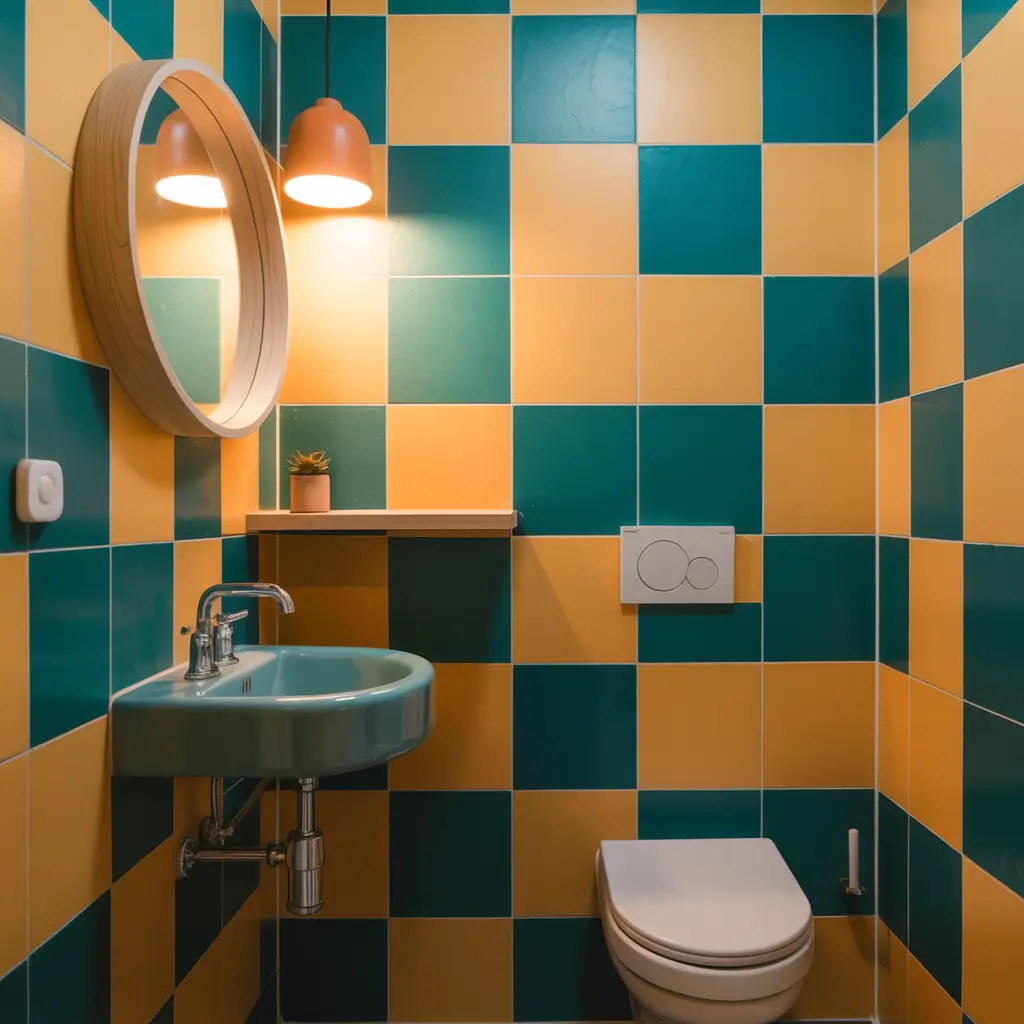
Colorful Peel and Stick Bathroom Tile Ideas
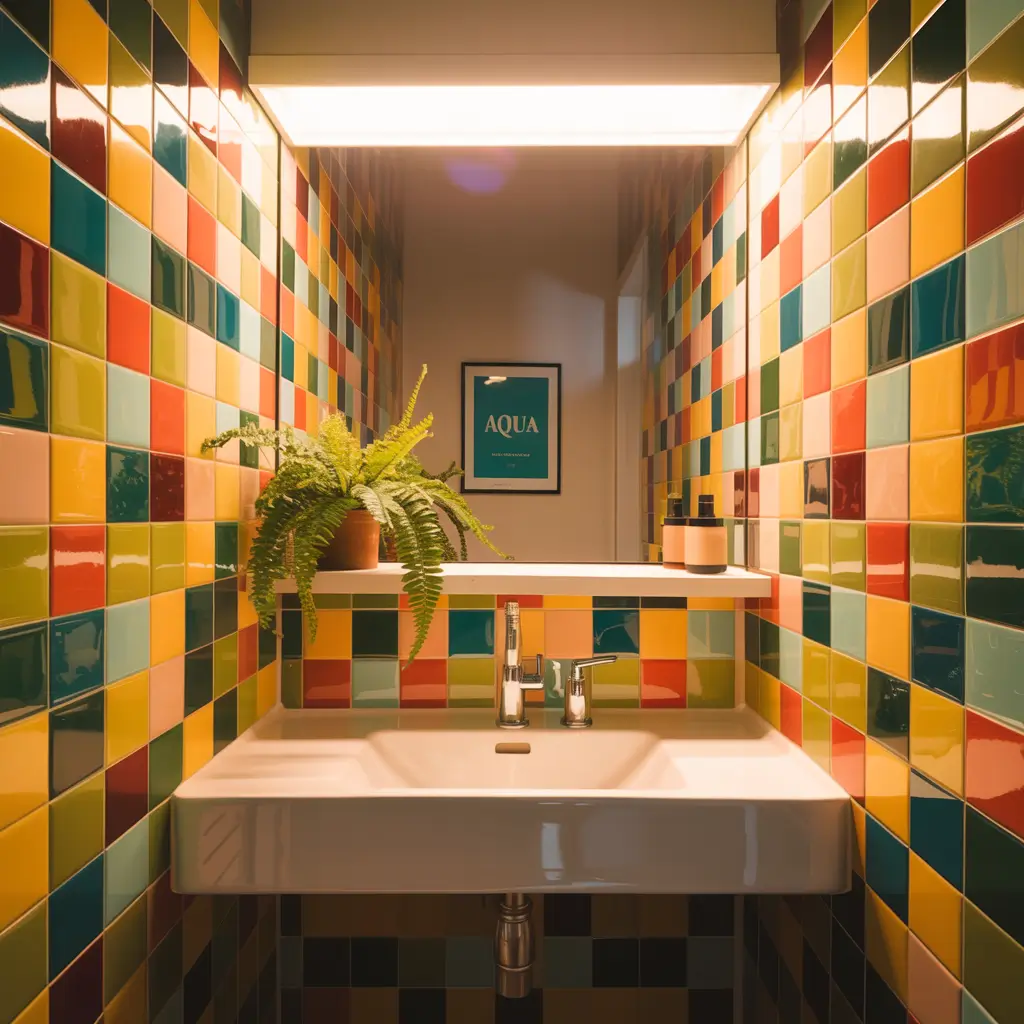
Why stick with boring when you can go bold? Colorful tiles inject personality and energy into otherwise utilitarian spaces. Think jewel tones, pastels, or even rainbow patterns if that’s your vibe.
My kids’ bathroom features turquoise and coral tiles in a fun geometric pattern. Does it match anything else in the house? Nope. Do they love it? Absolutely. Sometimes breaking design rules creates the most memorable spaces :
Balance bright floors with neutral walls to avoid overwhelming the space. Or go full maximalist – your bathroom, your rules! Bold colors work especially well in windowless bathrooms where natural light won’t fade them over time.
Color Coordination Tips:
- Test color combinations with samples first
- Consider the room’s lighting (natural vs. artificial)
- Use the 60-30-10 color rule
- Balance bold floors with neutral walls
- Choose colors that complement existing fixtures
Monochrome Peel and Stick Bathroom Flooring
Monochrome doesn’t mean monotonous. Using various shades of the same color creates depth and interest while maintaining visual cohesion. Gray scales, blue tones, or even all-black schemes look incredibly sophisticated.
I recently installed charcoal-to-light-gray gradient tiles in my basement bathroom. The ombré effect adds movement without introducing competing colors. Plus, monochrome schemes make small bathrooms feel larger and more cohesive.
Play with different tile finishes within your chosen color family. Mix matte and glossy tiles in the same shade for subtle texture variation that catches light differently throughout the day.
Monochrome Design Strategies:
- Use 3-5 shades of the same color
- Create gradients from dark to light
- Mix textures within the color family
- Add interest with different tile shapes
- Consider the psychology of your chosen color
Peel and Stick Tiles for Small Bathroom Spaces
Small bathrooms require strategic thinking, and peel and stick tiles offer flexibility that traditional tiles can’t match. You can easily cut them to fit awkward corners and weird angles without expensive tools.
My tiny half-bath measured just 25 square feet. Using large-format light gray tiles made it feel twice as big. The seamless look draws your eye across the space rather than focusing on its limitations.
Skip busy patterns in super small spaces – they’ll make the room feel chaotic. Stick with solid colors or subtle patterns that don’t compete for attention with your fixtures and décor.
Small Space Solutions:
- Choose light, reflective colors
- Use the same tiles on floors and walls
- Minimize grout lines with larger tiles
- Avoid high contrast patterns
- Install tiles diagonally for visual expansion
Rustic Bathroom Peel and Stick Tile Looks
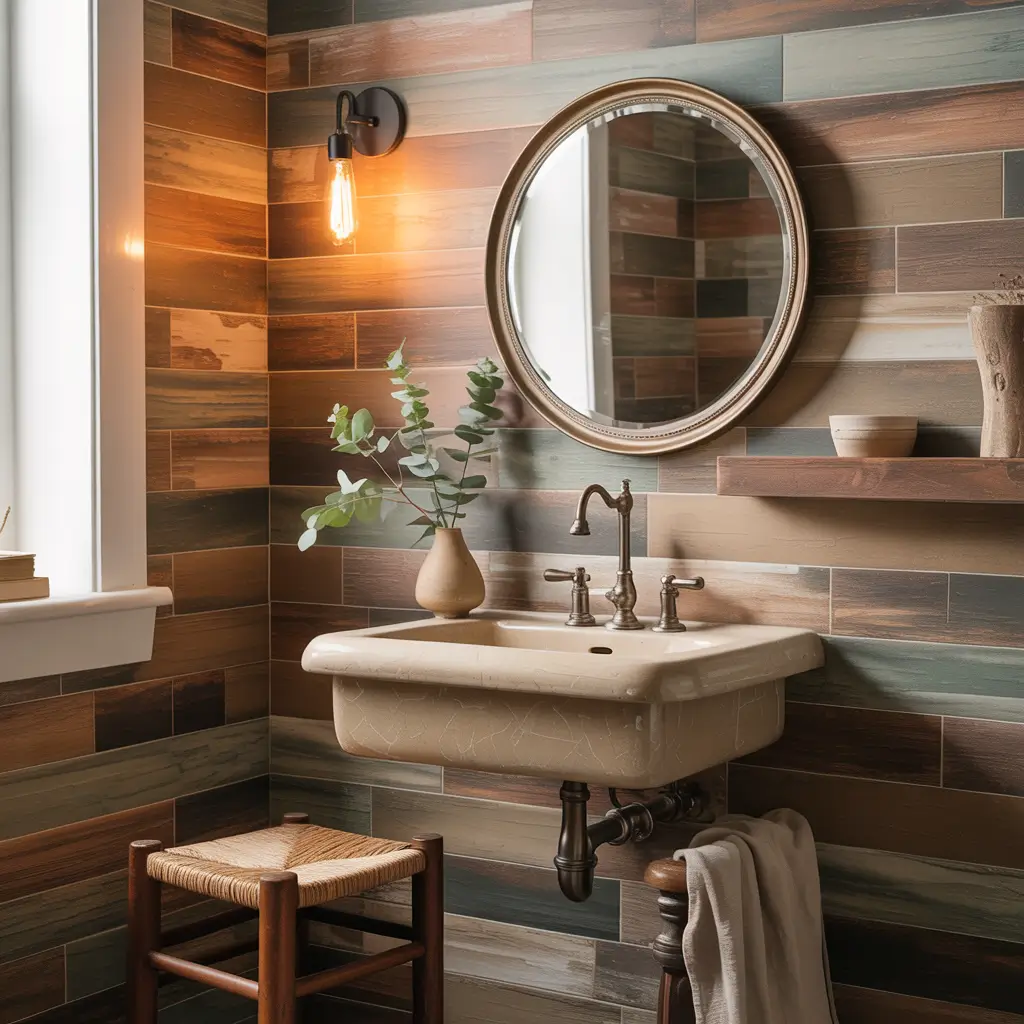
Rustic style brings warmth and character that makes bathrooms feel cozy rather than clinical. Wood-look and stone-pattern tiles capture that farmhouse charm without the maintenance nightmares of real wood in wet spaces.
My cabin bathroom features weathered wood-look planks that fool everyone. They’ve survived two years of wet boots and muddy paws without showing wear. Try achieving that with real hardwood!
Layer different brown tones and textures for authentic rustic appeal. Mix wood-look tiles with stone patterns to create visual interest while maintaining the natural aesthetic.
Rustic Design Elements:
- Wood grain patterns in various tones
- Natural stone textures
- Warm color palettes
- Distressed or weathered finishes
- Mixed materials and textures
Spa-Like Bathroom Peel and Stick Floors
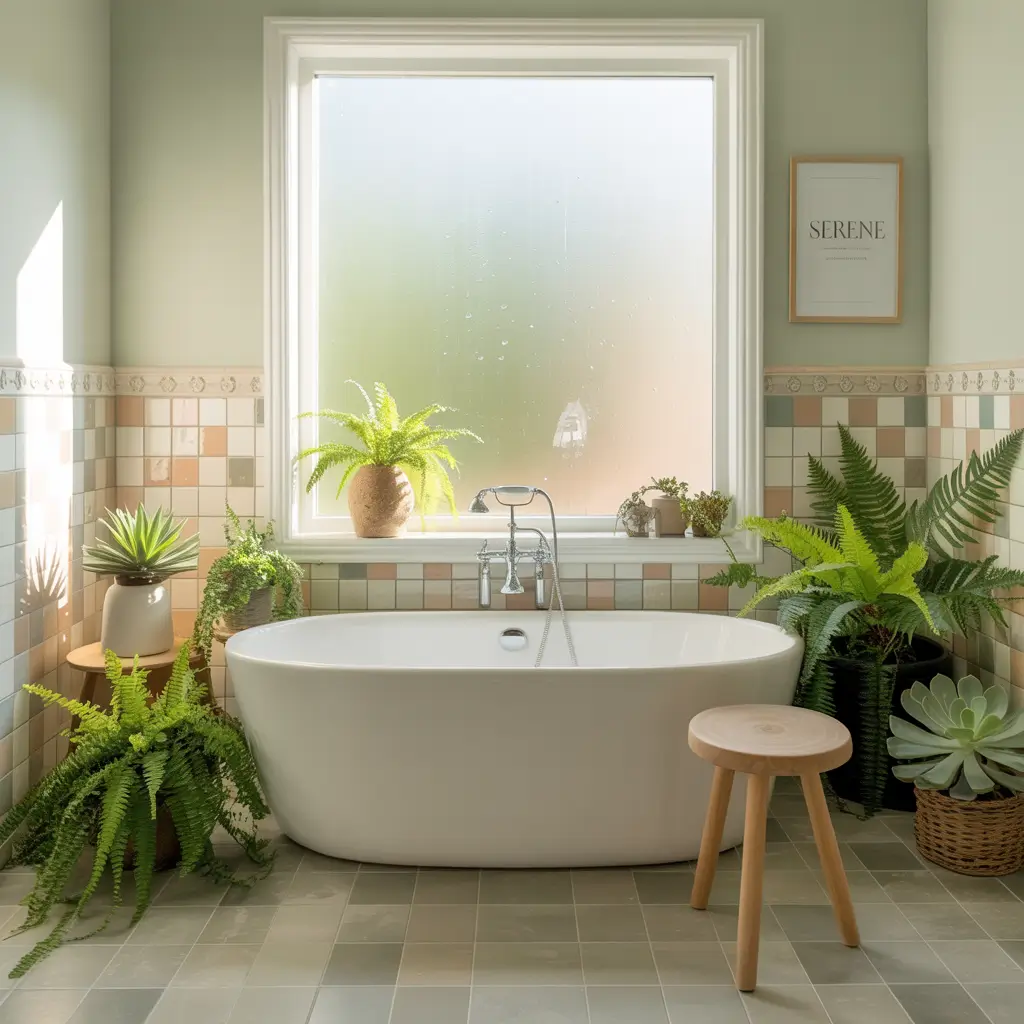
Transform your bathroom into a personal spa retreat without the spa-level budget. Soft colors, natural textures, and calming patterns create that relaxation zone we all need.
I installed pale bamboo-look tiles in my master bath last spring. Combined with white walls and natural wood accents, the space feels like a high-end wellness center. Total cost? Under $200 versus the $2,000 quote for real bamboo flooring.
Focus on materials that evoke nature – stone patterns, wood grains, or tiles mimicking river rocks. Neutral palettes in beiges, soft grays, and warm whites enhance the peaceful atmosphere.
Spa-Inspired Features:
- Natural material replicas
- Soft, muted color palettes
- Large format tiles for seamless looks
- Textured surfaces for barefoot comfort
- Water-resistant, easy-clean finishes
Geometric Peel and Stick Bathroom Tile Patterns
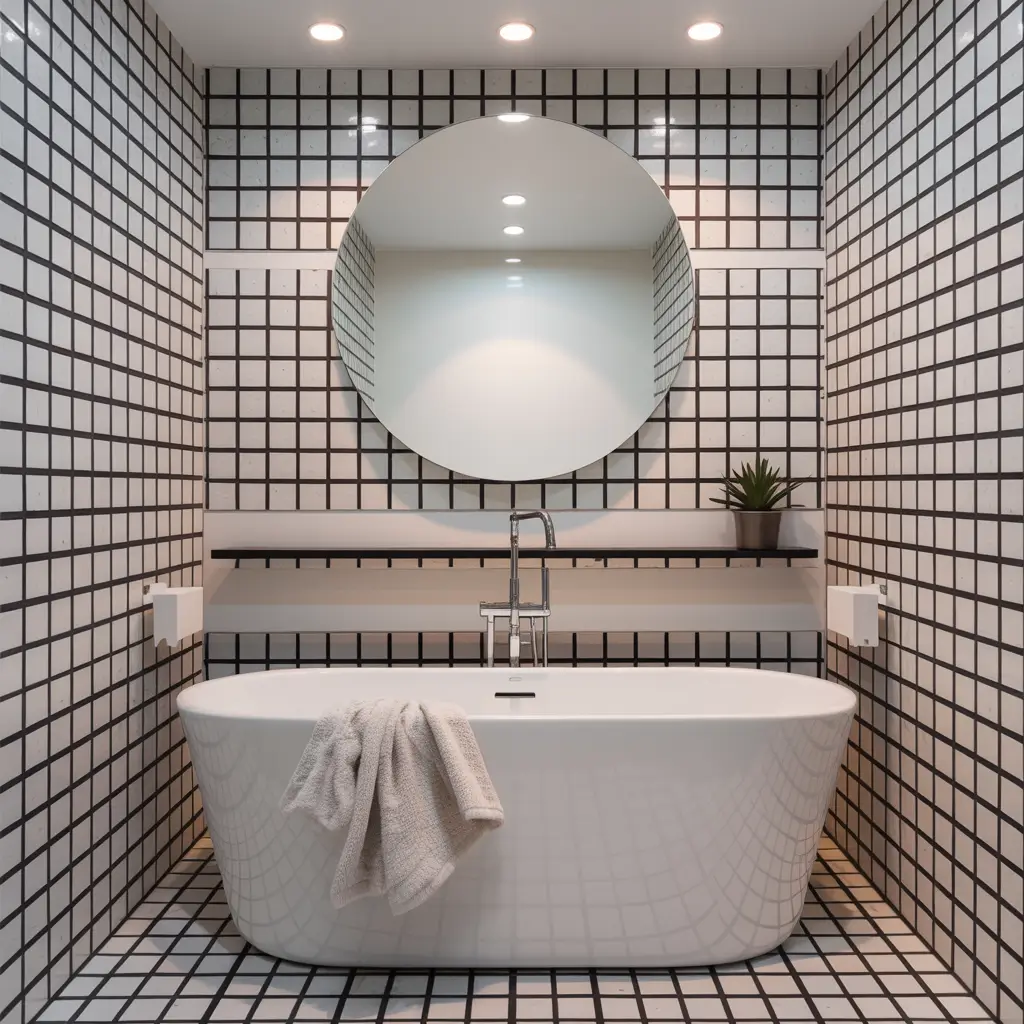
Geometric patterns add modern edge and visual interest that never gets old. Hexagons, diamonds, and triangular patterns create dynamic floors that become the room’s focal point.
My powder room sports black and white hexagonal tiles arranged in a random pattern. Visitors always comment on the “expensive” flooring. Little do they know it cost less than a nice dinner out! The geometric design distracts from the basic builder-grade fixtures I haven’t updated yet.
Mix geometric shapes with solid borders for a polished look. Alternating colors within the same geometric pattern creates movement and prevents the design from feeling static.
Geometric Layout Ideas:
- Hexagonal honeycomb patterns
- Diamond or rhombus arrangements
- Triangular tessellations
- Mixed geometric shapes
- Gradient color transitions within patterns
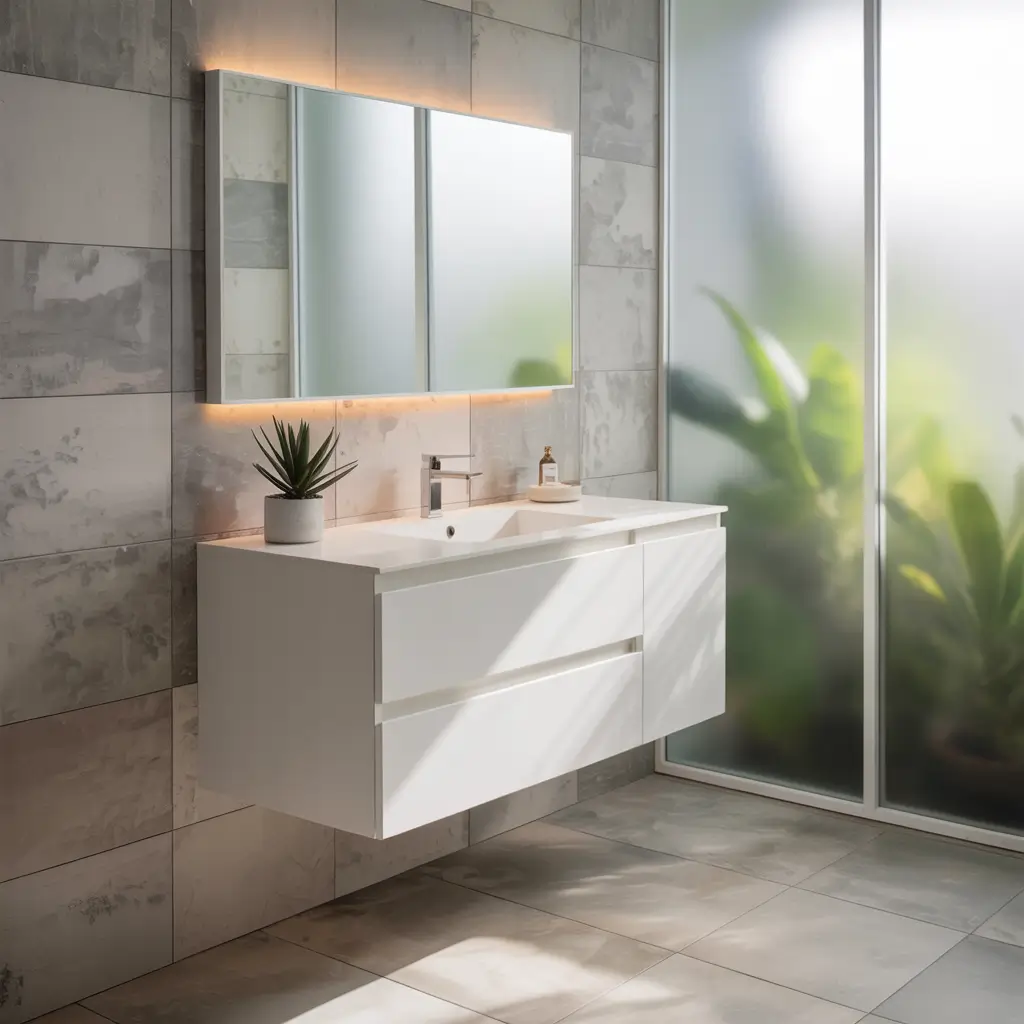
Peel and Stick Tile Ideas for Modern Bathrooms
Modern bathrooms demand clean aesthetics and functional beauty. Large-format tiles in neutral tones with minimal pattern variation achieve that contemporary look without breaking the bank.
I transformed my dated bathroom into a modern oasis using 24×24 inch light gray tiles. The large size minimizes seam lines, creating that expensive, seamless appearance modern design demands. Installation took one afternoon – IMO, that beats weeks of traditional tile work any day.
Consider mixing tile sizes for added interest. Combine large floor tiles with smaller accent tiles to create borders or define different zones within the bathroom. This technique adds sophistication without overwhelming the space.
Modern Style Essentials:
- Large format tiles (18 inches or larger)
- Minimal grout lines
- Neutral or monochromatic colors
- Geometric installation patterns
- Consistent finishes throughout
Making Your Choice
After installing peel and stick tiles in five different bathrooms, I’ve learned what works and what doesn’t. The biggest game-changer? Choosing quality tiles that match your lifestyle, not just your aesthetic preferences.
High-traffic bathrooms need durable, water-resistant options. Guest bathrooms can handle more delicate designs since they see less use. Kids’ bathrooms require tiles that hide dirt and survive enthusiasm (trust me on this one).
Remember that peel and stick tiles offer flexibility traditional tiles can’t match. Changed your mind? Hate the pattern after a year? You can actually remove and replace them without demolishing your entire floor. Try doing that with ceramic tile!
Whether you choose modern minimalism, vintage charm, or bold geometric patterns, peel and stick tiles make bathroom transformation accessible to everyone. No contractor required, no trust fund necessary – just your vision and a free weekend. Your dream bathroom awaits, and honestly? You’ve got this.