Album Cover Wall Decor Ideas: 15 Chic Arrangements That Wow Instantly
Remember that feeling when you walked into your friend’s apartment and saw their killer album wall? Yeah, me too. I stood there for like twenty minutes just admiring how they turned their favorite records into actual art.
That’s when I realized album covers aren’t just protective sleeves – they’re legitimate design goldmines waiting to transform your walls from boring to brilliant.
Let’s talk about turning your music collection into something spectacular. Whether you’re rocking vintage Beatles vinyl or streaming everything digital, I’ve got fifteen ways to make those album covers work harder than your Spotify algorithm. Trust me, your walls will thank you.
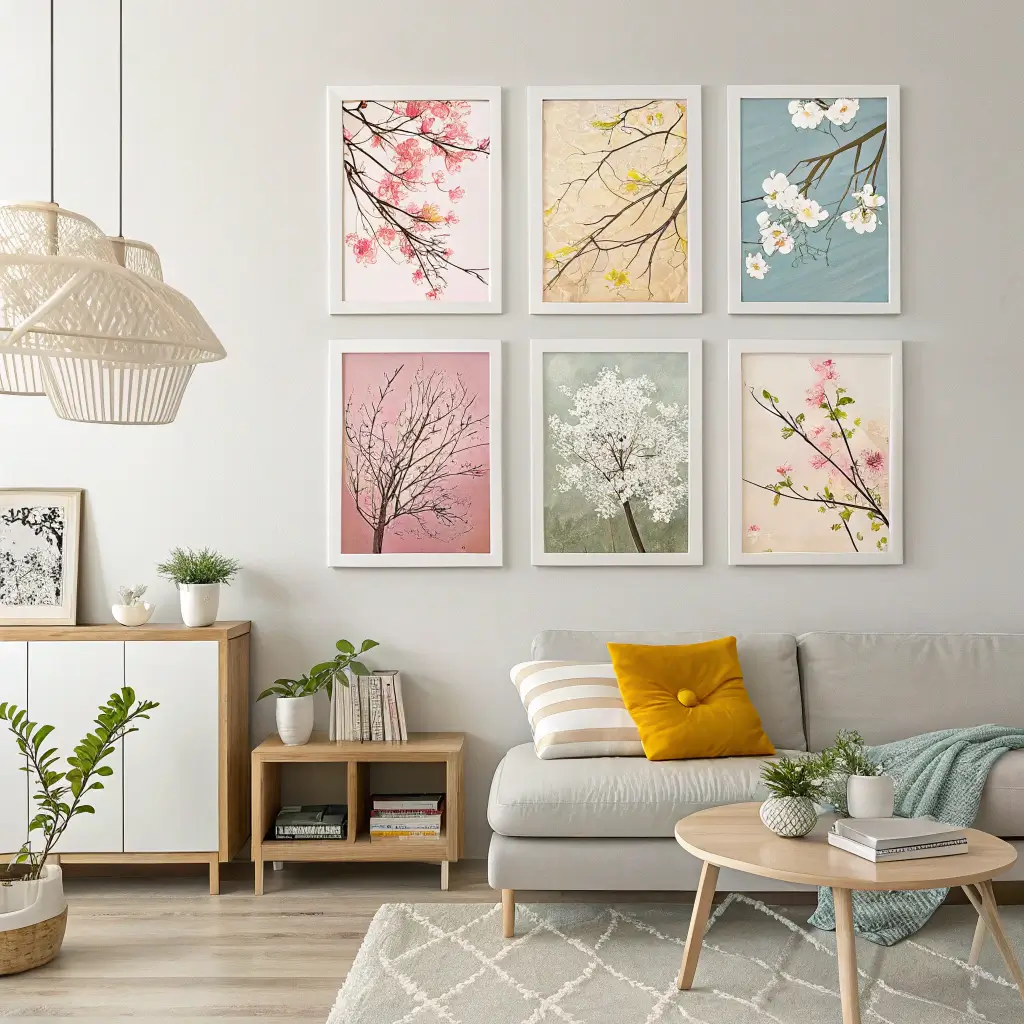
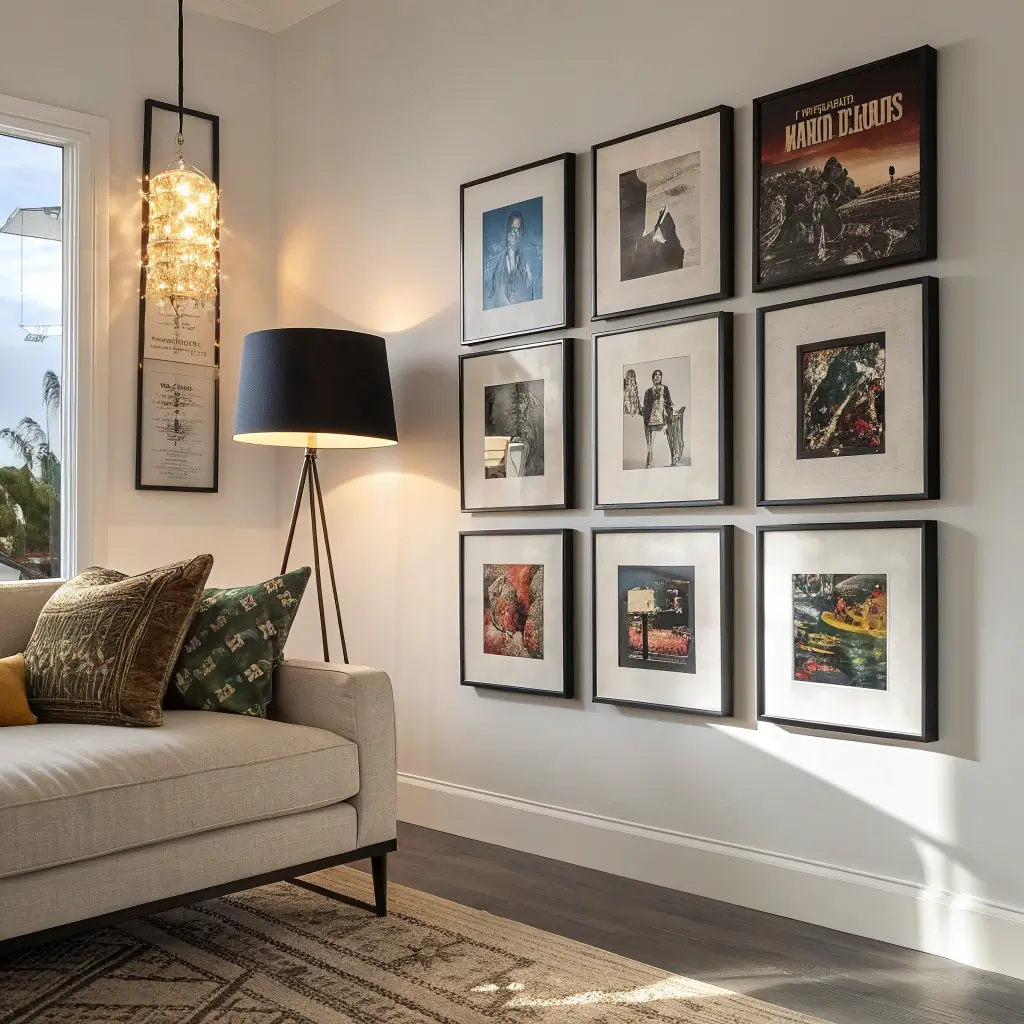
Grid-Style Album Wall
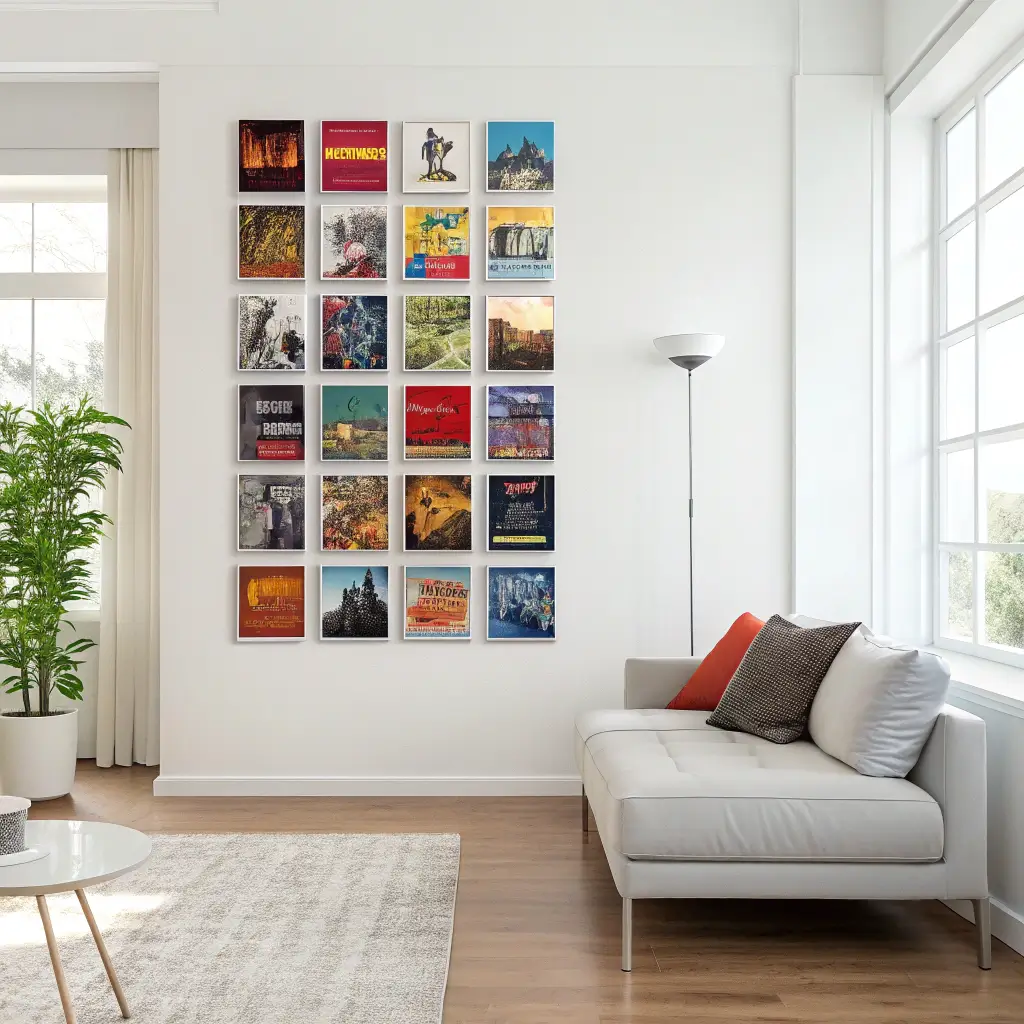
The grid layout screams organized chaos in the best possible way. You know what makes this approach so satisfying? The mathematical precision mixed with artistic expression. I arranged twelve of my favorite albums in a perfect 3×4 grid last year, and guests still comment on it.
Start by measuring your wall space and deciding on your grid dimensions. Want to go big? Try a 5×5 arrangement for maximum impact. The key here is maintaining equal spacing between each frame – I’m talking ruler-level precision, folks. About 2-3 inches between frames usually hits that sweet spot.
Choosing Your Grid Albums
Pick albums that tell a story together. Maybe chronological releases from your favorite artist, or a color gradient that flows across the grid. I once saw someone arrange their grid by decade, starting with the ’60s and ending with current releases. Brilliant, right?
Pro tip: Use painter’s tape to map out your grid on the wall before hammering any nails. This saves you from the heartbreak of crooked frames and unnecessary holes in your drywall.
Floating Frames Display
Floating frames make album covers look like they’re levitating off your wall. These bad boys create depth and dimension that regular frames just can’t match. The album appears suspended between two pieces of glass, giving you that gallery-worthy vibe without the gallery price tag.
I discovered floating frames when I wanted to display my signed Fleetwood Mac album. Regular frames felt too heavy, too traditional. Floating frames? They let the artwork breathe while protecting it from dust and fingerprints.
Installation Tips for Floating Frames
Mount these frames with sturdy wall anchors – they’re heavier than they look. Space them asymmetrically for a modern feel, or line them up for something more structured. The beauty is in the flexibility.
Consider mixing frame sizes too. 12×12 for standard albums, 7×7 for singles, and maybe throw in a 10×10 for variety. This creates visual interest without looking chaotic.
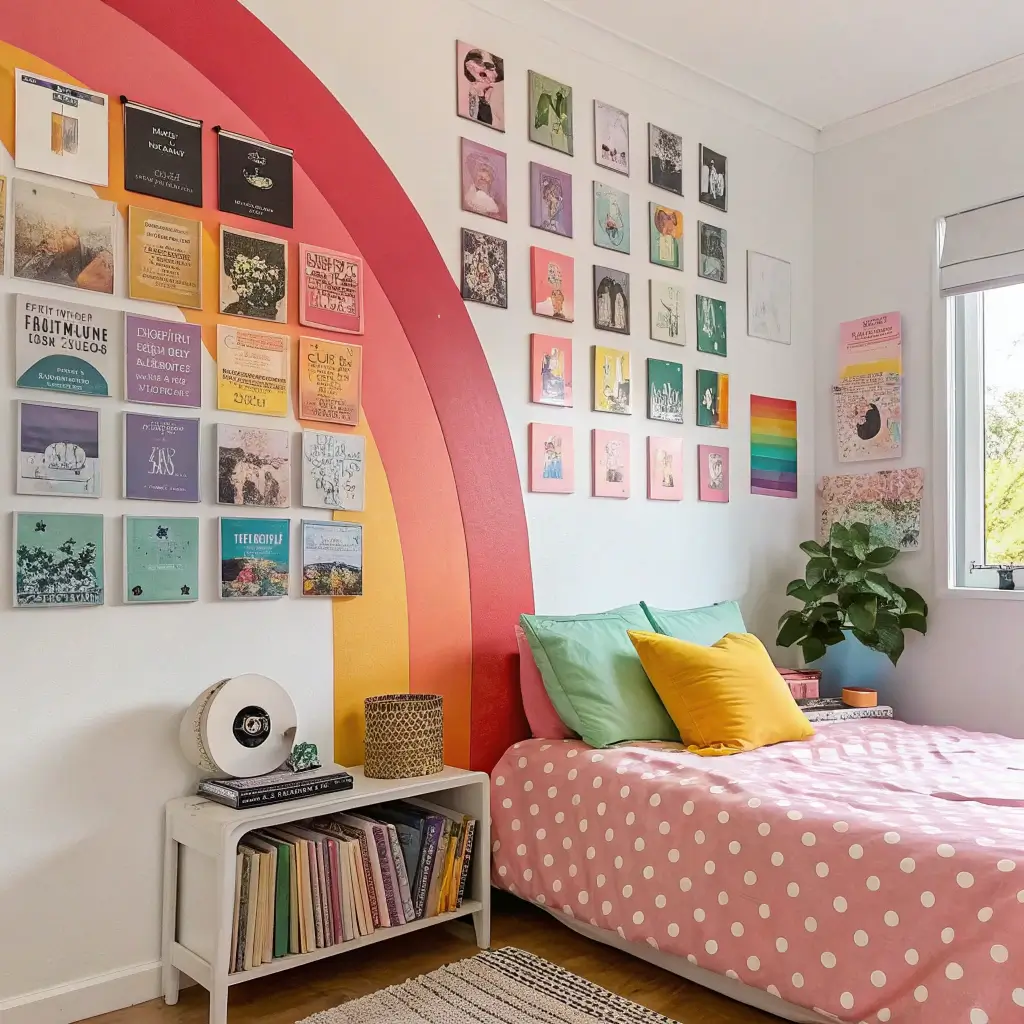
Vinyl Record Collage

Who says you need perfect alignment? A vinyl collage celebrates controlled randomness. This approach works especially well if you’ve got albums from different eras with varying aesthetic styles.
Overlap some covers slightly, leave gaps between others. Pin some directly to the wall with removable adhesive strips, frame others. The mix of mounted and unmounted albums creates texture that draws the eye across the entire display.
Creating Movement in Your Collage
Angle some albums slightly – not everything needs to be perfectly straight. Think of it like a mood board that happened to be made entirely of album covers. I’ve seen people incorporate concert tickets, band posters, and setlists into their collages. Why not, right?
The collage style works particularly well in creative spaces like home studios or teenage bedrooms. It’s got that “I’m too cool to measure” vibe that somehow always looks intentional.
Also Read: Hallway Wall Decor Ideas: 15 Budget-Friendly Ideas You’ll Love
Minimalist Single Album Spotlight
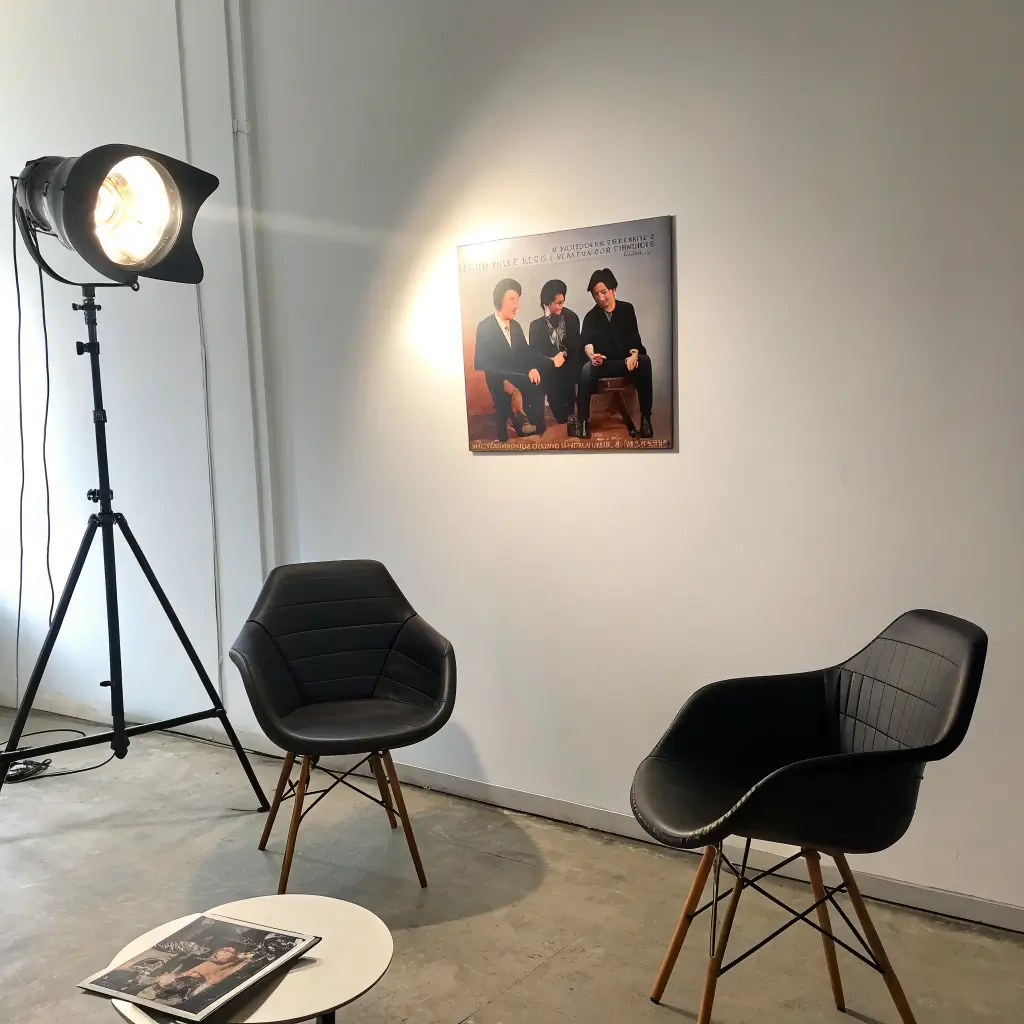
Sometimes less really is more. Ever walked into a room where one perfectly placed album cover commanded all the attention? That’s the power of the minimalist approach.
Choose your absolute favorite album – the one that changed your life, made you cry, or just looks stunning. Frame it in an oversized mat with plenty of white space. Mount it at eye level on an otherwise empty wall.
Making Your Single Album Pop
Lighting makes or breaks this approach. Install a small picture light above the frame, or position it where natural light hits during golden hour. The album becomes a conversation starter, a focal point that doesn’t compete with anything else.
I’ve got a friend who rotates their spotlight album monthly. January might feature Bowie, February switches to Beyoncé. It’s like having a rotating art exhibition in your living room.
Geometric Pattern Arrangement
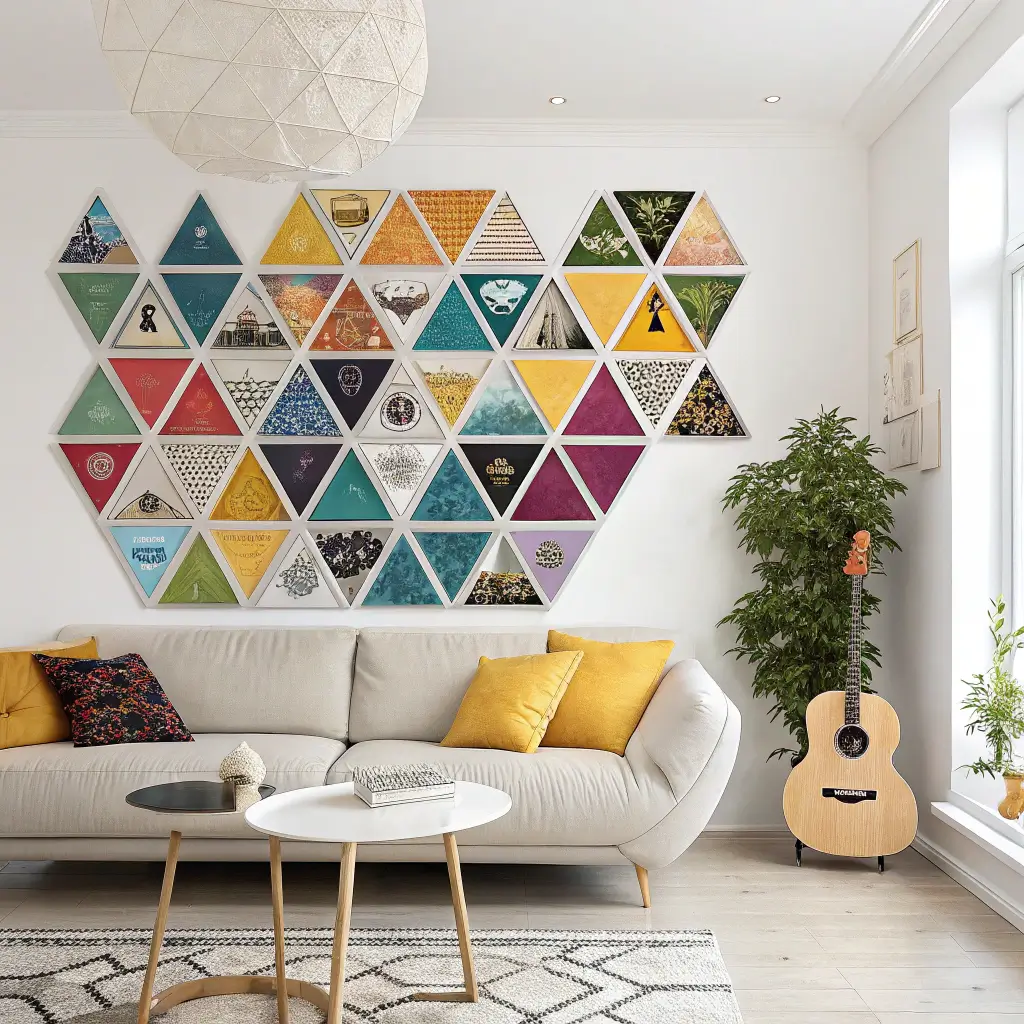
Triangles, hexagons, diamonds – oh my! Geometric arrangements turn your album collection into mathematical art. This isn’t your standard square grid; we’re talking creative shapes that make people stop and stare.
Start with a central album and build outward in your chosen pattern. A diamond formation with nine albums creates a striking focal point. Hexagonal patterns work beautifully with seven albums – one in the center, six surrounding it.
Planning Your Geometric Layout
Graph paper becomes your best friend here. Sketch your pattern first, considering how the album artwork will interact within the shape. Do the colors flow? Does the imagery create unexpected connections?
Bold move: Mix album sizes within your geometric pattern. Standard LPs with 45s create size variation that adds another layer of visual interest.
Color-Coded Album Wall
Organizing by color might sound basic, but executed well, it’s absolutely mesmerizing. Remember those satisfying rainbow bookshelf photos that broke the internet? Same energy, but with album covers.
Group your albums by dominant color. Create an ombre effect flowing from reds through oranges to yellows. Or go monochromatic – all blue albums creating a calming, cohesive wall.
Color Theory in Practice
The trick is balancing pure color organization with musical coherence. Nobody wants their death metal next to their meditation music just because they’re both predominantly black albums 🙂
Consider creating color blocks instead of a rainbow. A section of warm tones, a section of cool tones, and maybe a black-and-white section for those classic albums. This approach maintains visual impact while keeping some thematic sense.
Also Read: Bathroom Wall Decor Ideas: 15 Simple DIY Tips for a Chic Look
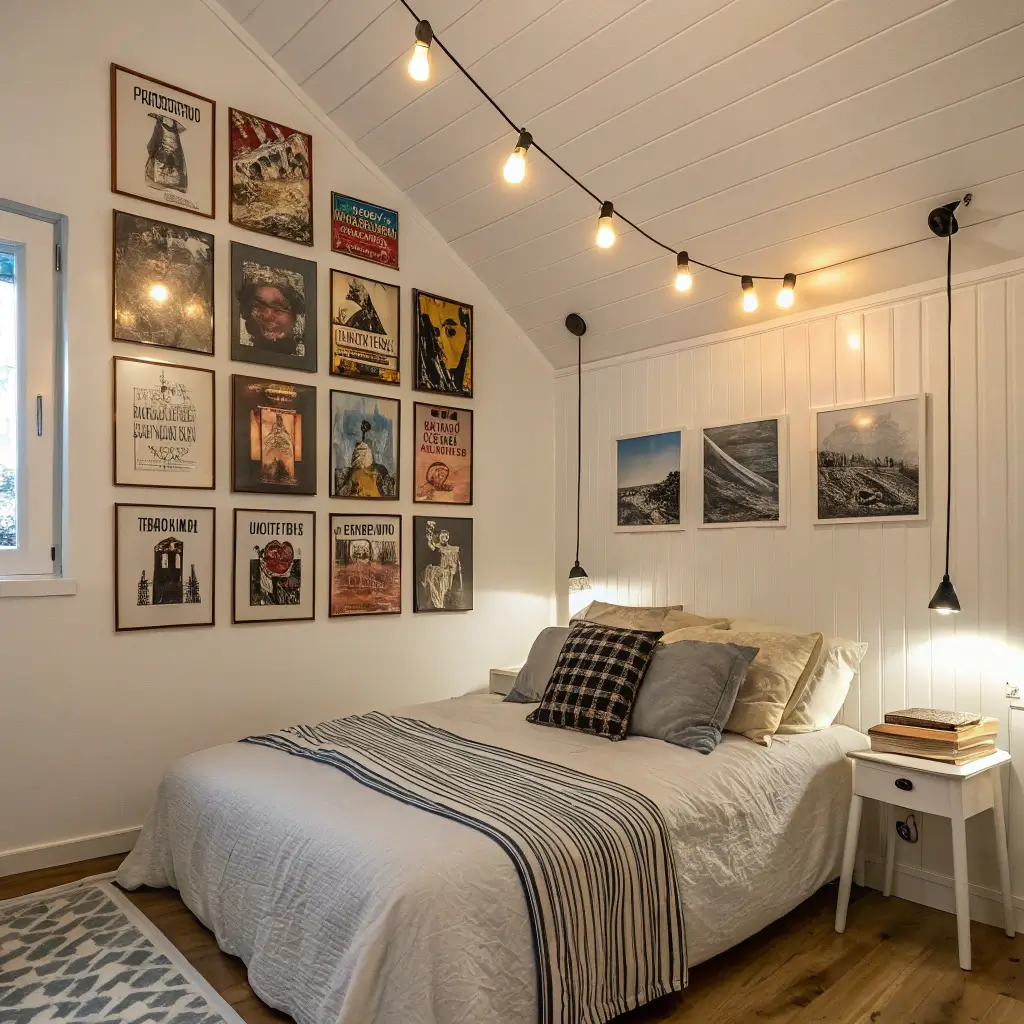
Retro Music Corner
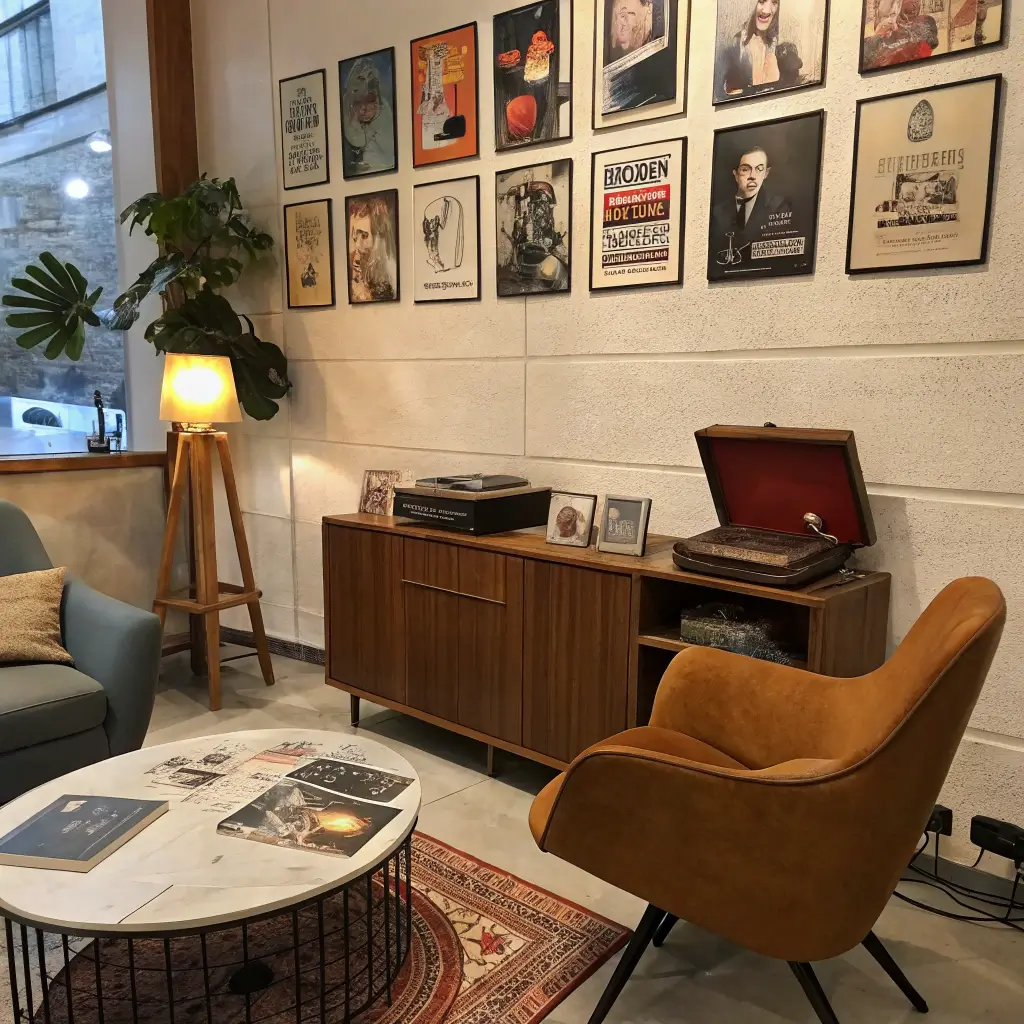
Transform a corner of your room into a time machine. We’re talking vintage vibes, nostalgic feels, and all the retro goodness your heart desires. This isn’t just hanging albums; it’s creating an entire aesthetic experience.
Mix your album displays with period-appropriate decor. Got ’70s albums? Add a lava lamp and macramé plant hanger. ’80s collection? Neon signs and geometric patterns are your friends.
Building Your Retro Vibe
Layer different display methods in your corner. Some albums on the wall, others leaning against it on a vintage console table. Add an old record player (functional or not) as a centerpiece.
The key detail: Don’t overthink the perfection. Retro corners should feel collected over time, not staged. That slightly chaotic, lived-in feeling sells the whole vibe.
LED-Backlit Album Frames
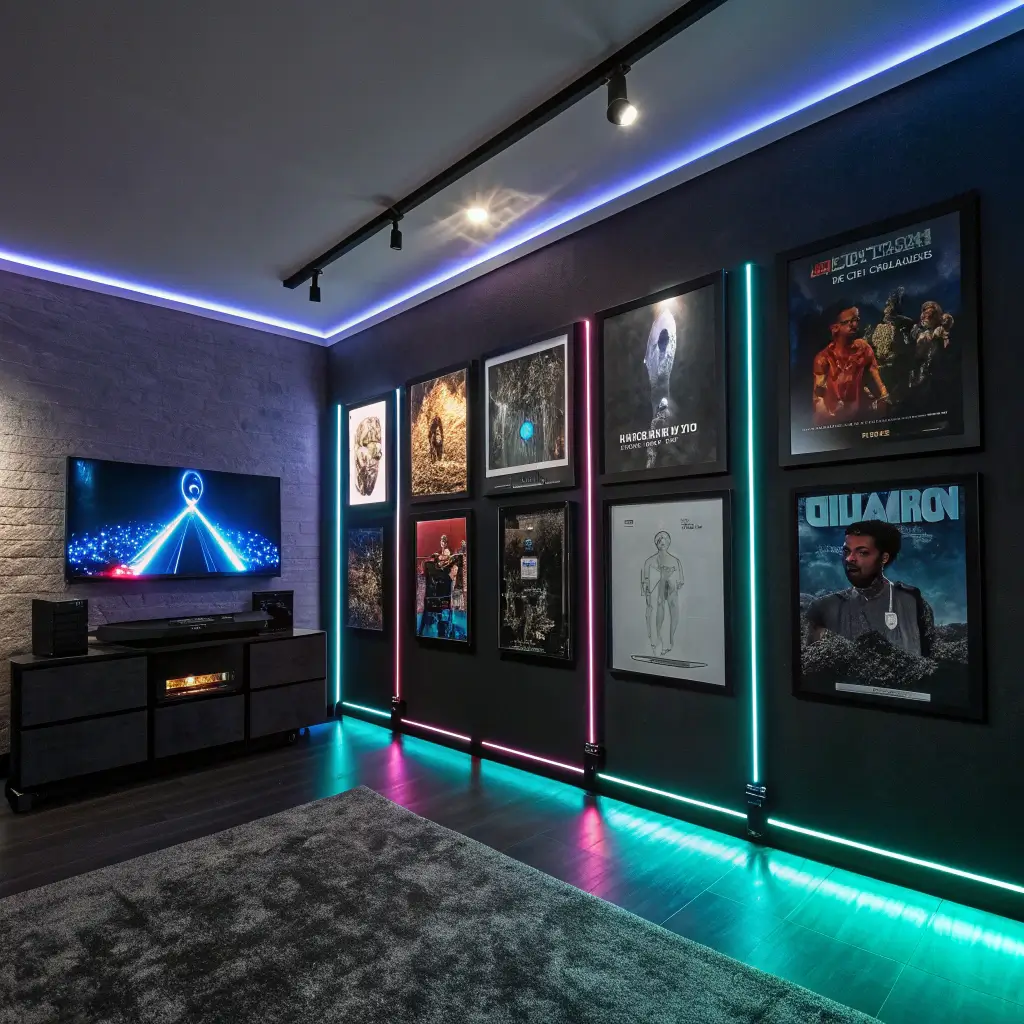
Welcome to the 21st century, where your album covers can literally glow. LED backlighting takes your display from day to night mode with the flip of a switch. This isn’t just decoration; it’s mood lighting with a musical twist.
Install LED strips behind floating frames or around the perimeter of your album arrangement. Choose warm white for a cozy feel, or go RGB for full color customization. IMO, the ability to change colors based on your mood is pretty sweet.
Technical Setup for LED Displays
You don’t need an electrical engineering degree for this. Battery-powered LED strips with remote controls make installation straightforward. Hide the battery packs behind the frames or use cord covers painted to match your wall.
Program your LEDs to slowly cycle through colors, or set them to music-reactive mode for parties. Watching your album wall pulse to the beat? Chef’s kiss.
Seasonal Rotation Wall

Why commit to one look year-round? A seasonal rotation keeps your space fresh and gives you an excuse to revisit different parts of your collection. Spring might feature upbeat, colorful albums while winter calls for moodier, introspective covers.
Designate a specific wall section as your “seasonal gallery”. Use a picture ledge system so swapping albums takes minutes, not hours. No new holes, no hassle.
Curating Seasonal Selections
Think beyond obvious holiday albums. Summer might showcase surf rock and reggae, while autumn brings out the folk and acoustic sets. Create thematic connections between albums that might not normally live together.
I rotate my display quarterly and honestly? It’s become a ritual I look forward to. It’s like redecorating without spending money or moving furniture.
Also Read: Kitchen Wall Decor Ideas: 15 Unique Styles to Inspire Your Kitchen
Album & Memorabilia Mix

Albums alone tell a story, but mixing in memorabilia creates a full narrative. Concert tickets, backstage passes, guitar picks, setlists – these pieces add personal context to your musical journey.
Create shadow boxes that combine album covers with related memorabilia. That ticket stub from your first concert? Frame it alongside the album they played that night. The setlist you caught at a festival? Perfect companion to the headliner’s LP.
Arranging Your Music Memories
Balance is crucial here. Too much memorabilia and it looks cluttered; too little and you miss the opportunity for storytelling. Aim for 70% albums, 30% memorabilia as a starting ratio.
Use consistent framing to unify disparate elements. Black frames create cohesion even when displaying items from different decades or genres.
Vertical Stacked Albums
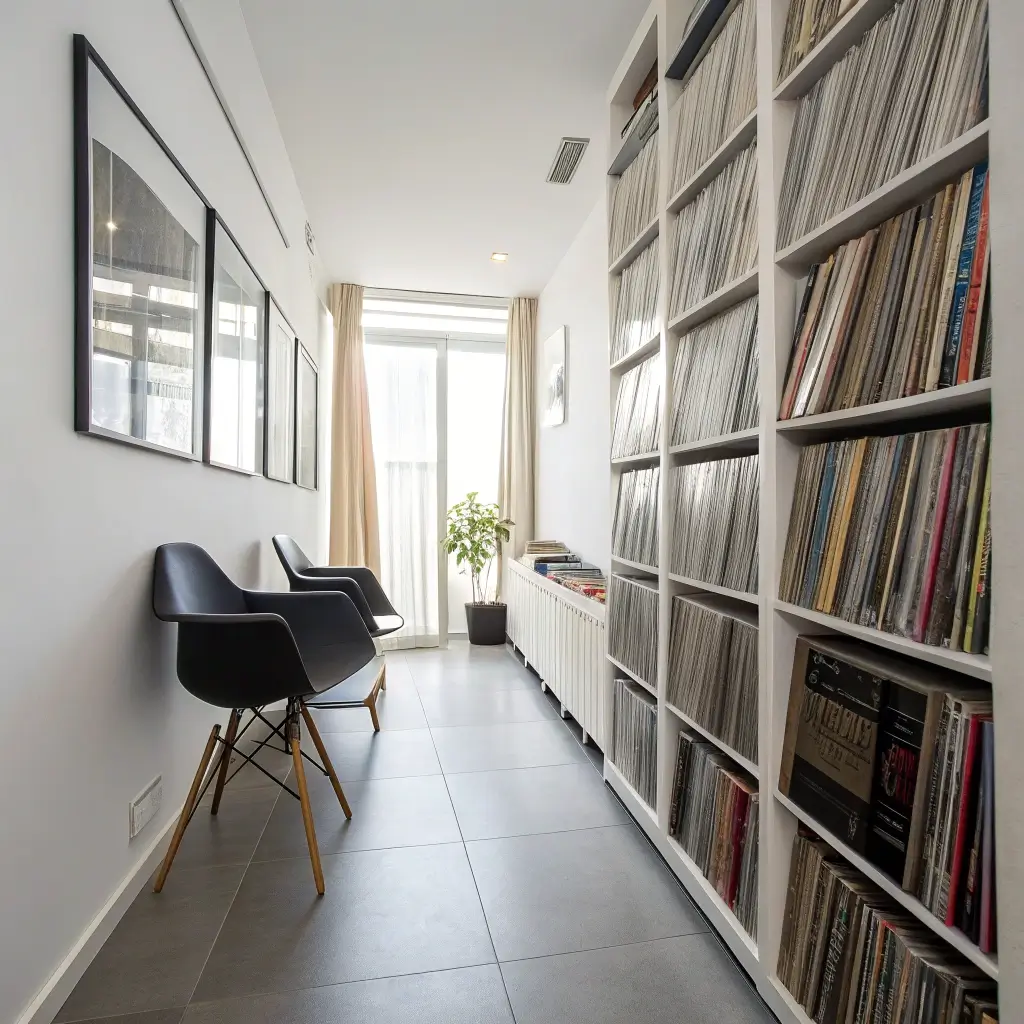
Think beyond horizontal lines. Vertical stacking creates height and drama that draws the eye upward. This technique works especially well in rooms with high ceilings or narrow wall spaces.
Stack albums in columns of three to five, depending on your ceiling height. Vary the column heights for a cityscape effect – some tall towers, some shorter buildings. This creates rhythm and movement across your wall.
Making Vertical Work
The bottom album in each stack should be at roughly hip height, with others climbing upward. This ensures all albums remain visible and the display doesn’t feel like it’s floating too high.
Mix orientations within your stacks. Maybe one column runs vertical while adjacent ones stay horizontal. This interplay creates visual tension that keeps things interesting.
Album Cover Gallery Ledge
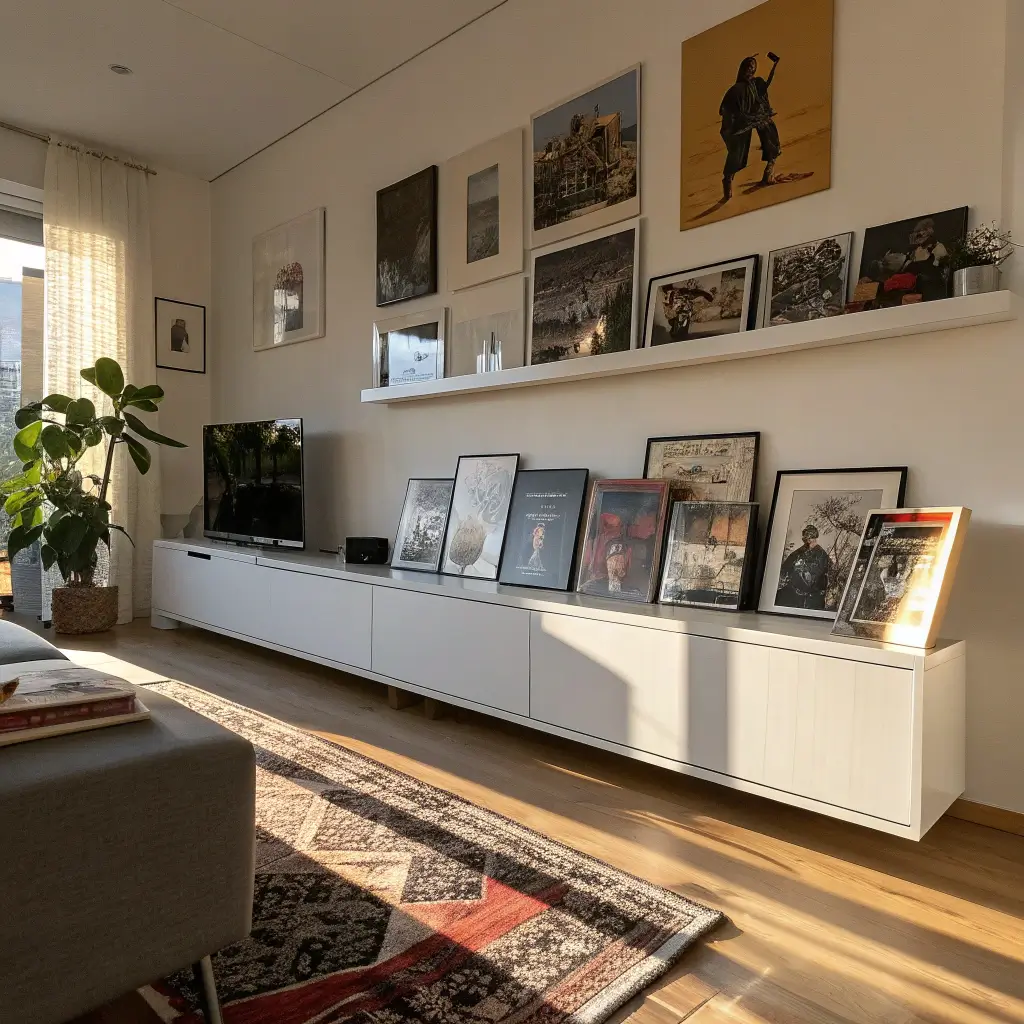
Picture ledges give you flexibility without commitment. No permanent arrangements, no nail holes everywhere – just beautiful albums that you can rearrange whenever inspiration strikes.
Install multiple ledges at varying heights. Layer albums on each ledge, overlapping them slightly so you can see portions of each cover. This creates depth and allows you to display more albums in less space.
Styling Your Ledges
Front-load your favorite albums while letting others peek out from behind. Occasionally prop an album at an angle for variation. Add small plants or decorative objects between albums to break up the visual flow.
The beauty of ledges? Changing your display takes seconds. Hosting a dinner party? Swap in sophisticated jazz albums. Kids coming over? Hello, Disney soundtracks.
Boho Wall Hanging Display
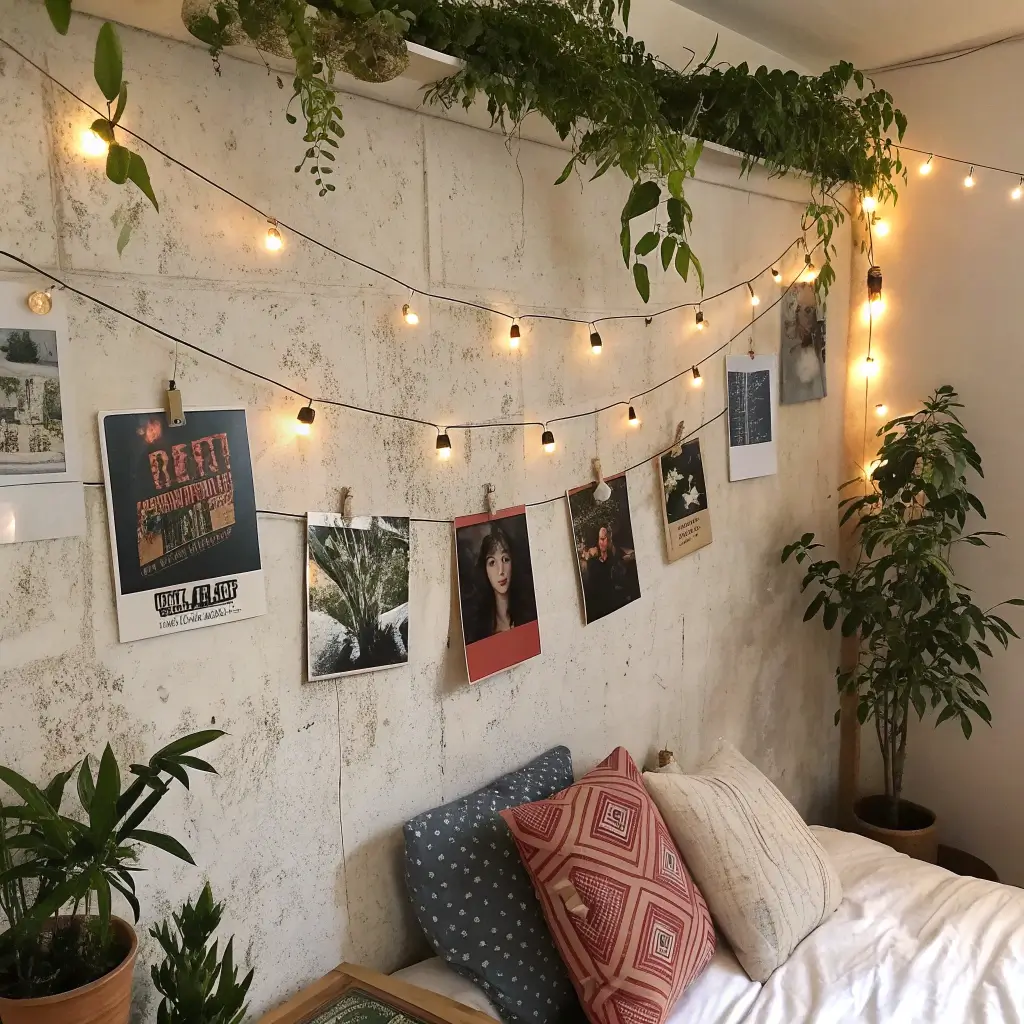
Macramé meets music in this free-spirited approach. Create or buy macramé hangers designed for albums, then suspend them at varying heights for an organic, flowing display.
This style works beautifully with folk, indie, and world music albums – anything with earthy, artistic covers. The soft textile elements balance the hard edges of album covers, creating unexpected harmony.
DIY Boho Elements
Incorporate natural materials like driftwood as hanging rods. Weave fairy lights through the macramé for evening ambiance. Add dried flowers or pampas grass between albums for that full boho aesthetic.
FYI: This style is surprisingly kid and pet-friendly since albums can swing safely if bumped. No glass frames to worry about breaking.
Album Art Shadow Boxes
Shadow boxes turn albums into three-dimensional art installations. These deep frames let you create mini scenes around your albums, adding context and creativity to the display.
Layer elements at different depths within each box. The album sits at the back, with related items placed at varying distances forward. Maybe add miniature instruments, band memorabilia, or themed decorations that complement the album’s aesthetic.
Designing Your Shadow Boxes
Each box becomes its own little world. A punk album might include safety pins and torn fabric. A jazz album could feature miniature brass instruments and art deco elements.
Light each shadow box from within using small LED spots. This creates museum-quality presentation that elevates your albums from covers to curated art pieces.
DIY Washi Tape Frames
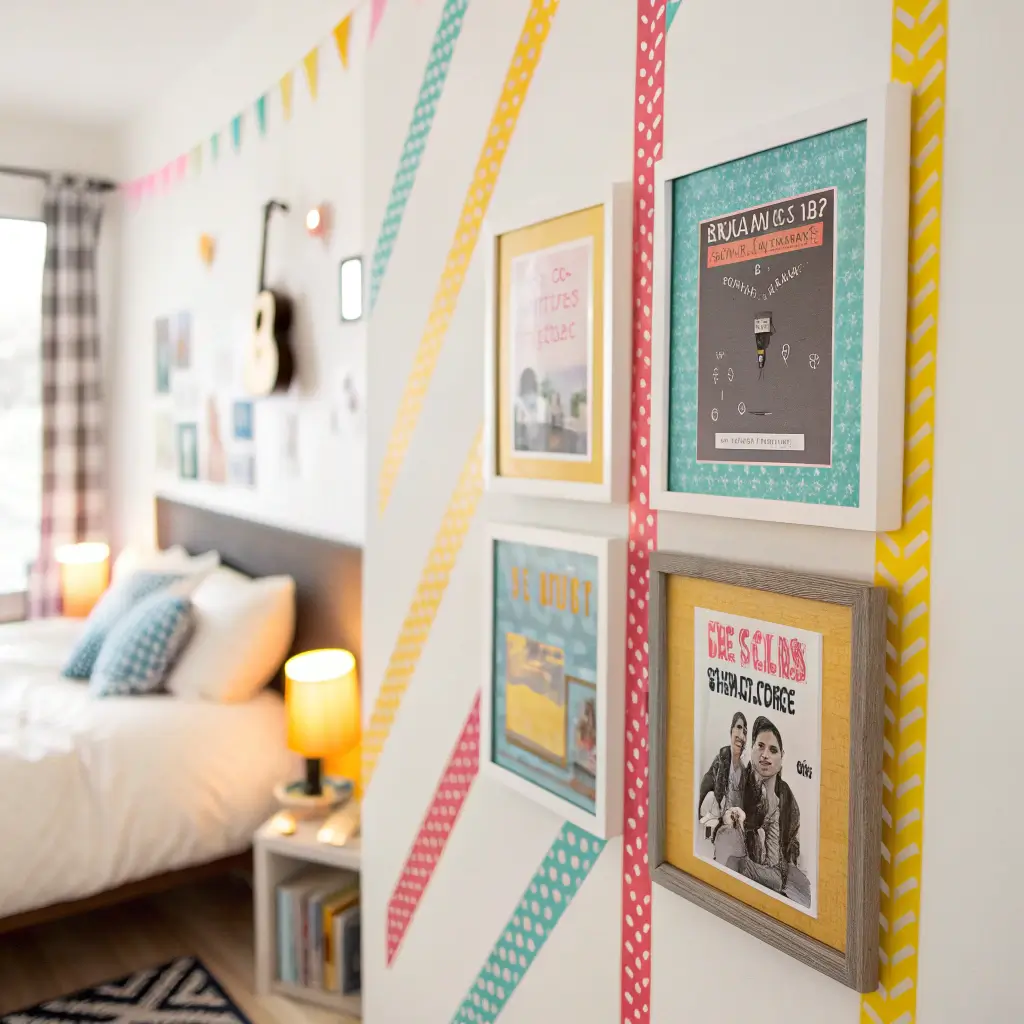
Who needs expensive frames when you’ve got washi tape? This budget-friendly approach lets you create colorful, temporary frames directly on your wall. Perfect for renters or commitment-phobes.
Choose tape patterns that complement your album artwork. Geometric patterns for modern albums, floral designs for folk records, or metallic tape for glam rock. The tape becomes part of the art, not just a border.
Creating Tape Frames That Pop
Layer different tape widths for dimensional frames. Start with a wide base layer, then add thinner accent strips. Corner details make all the difference – try diagonal cuts or overlapping patterns.
The best part? When you’re ready for change, the tape peels off cleanly. No damage, no drama, just endless possibilities for reinvention.
Final Thoughts
Your album wall collection deserves better than hiding in milk crates or living exclusively in digital playlists. These walls tell your story, showcase your taste, and create conversation starters that Netflix posters never could.
Pick the approach that speaks to you – or better yet, combine several techniques across different rooms. Your bedroom might rock that moody LED-backlit display while the living room sports a clean geometric arrangement. The only rule? Make it authentically yours.
Now go forth and give those albums the spotlight they deserve. Your walls are waiting, and honestly, so are your Instagram followers. Because let’s be real – a well-executed album wall is social media gold, and we all know it.